In the manufacturing and materials industry, hardness testing is a fundamental quality control step that often raises questions—especially for technical staff and foreign trade clients juggling diverse standards and product specifications. This guide dives into the core mechanics of hardness measurement, explaining the workings of popular hardness testers like Rockwell, Brinell, and Vickers machines, clarifying the factors that influence result accuracy, and demonstrating their pivotal role through real industry examples. Whether you're new to material testing or looking to deepen your technical understanding, this article offers a comprehensive yet straightforward roadmap to mastering hardness testing.
Hardness defines a material’s resistance to permanent deformation, indentation, or scratching. Testing hardness is not a one-size-fits-all process; instead, it relies on different methodologies tailored for materials ranging from soft plastics to hardened steels. The three most common hardness tests today—Rockwell, Brinell, and Vickers—use distinct principles but ultimately aim to quantify this resistance reliably.
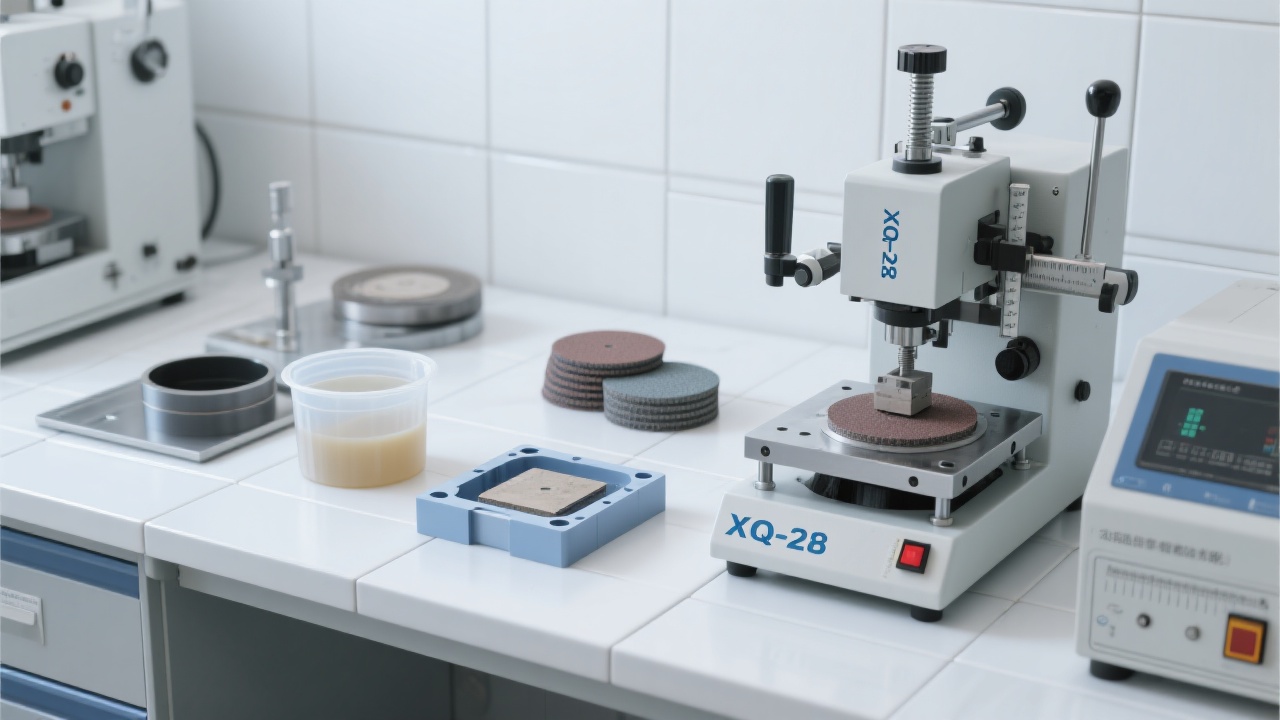
Before discussing each method, it helps to understand that hardness testers operate primarily by applying a known force to an indenter, which presses into the material's surface. The size or depth of the resulting indentation is then measured and converted into a hardness value. Think of it as pressing a thumb into a piece of soft dough versus a hardened loaf—how deep your thumb sinks gives a practical analogy to hardness.
Each testing method brings unique advantages suited to specific material types and industrial needs. Let’s unpack their operating principles and where each shines.
| Hardness Test | Indentation Mechanism | Typical Indenter | Force Applied | Common Applications |
|---|---|---|---|---|
| Rockwell | Measures depth of indentation under constant load | Diamond cone or steel ball | 60–150 kgf | Metals, quality control, fast inspections |
| Brinell | Measures diameter of indentation from spherical indenter | Steel or tungsten carbide ball | 500–3000 kgf | Castings, forgings, rough surfaces |
| Vickers | Measures diagonal length of a diamond-shaped indentation | Diamond pyramid | 1–100 kgf | Thin materials, microstructures, small parts |
Notably, the Rockwell hardness number (HR) is widely used for rapid industrial testing because it does not require optical measurement, whereas Brinell and Vickers rely on precise optical measurements of indentation size, making them more suited for laboratory environments.

Hardness testing accuracy depends on multiple variables—any of which can skew results if neglected. The most critical include:
For example, in a steel production plant, a slight variation in sample surface roughness—say from 3 µm to 10 µm Ra—can cause fluctuation in Brinell hardness readings by as much as 5%, which might lead to incorrect acceptance or rejection decisions on quality grounds.
One European automotive supplier reported excessive component wear rates, traced back to inconsistent heat treatment. By integrating Rockwell hardness testing at multiple production stages, the supplier detected variability early—reducing scrap rates by 12%. They found that the swift Rockwell method suited in-line checks better than Brinell, whose longer test cycle slowed throughput.
Another case from an aerospace materials lab illustrated the use of Vickers microhardness to evaluate thin titanium alloy coatings. Precision at micro-scale revealed subtle hardness gradients that informed process adjustments, enhancing coating durability by 18%.

These examples underscore not only the technical value of selecting the right hardness testing method but also the operational impact when integrating hardness testing into process control.
Ultimately, your choice hinges on the material, sample size, production environment, and testing purpose:
Bear in mind that choosing a hardness tester is not just about the upfront cost or brand—consider long-term accuracy, calibration support, and supplier responsiveness.

By applying a clear selection process, users reduce risks of inappropriate testing, costly reworks, or failed certifications.
Have you encountered challenges with hardness testing in your particular industry or project? Feel free to share your scenario—our team can provide tailored hardness testing solutions and share examples from your peers around the globe.