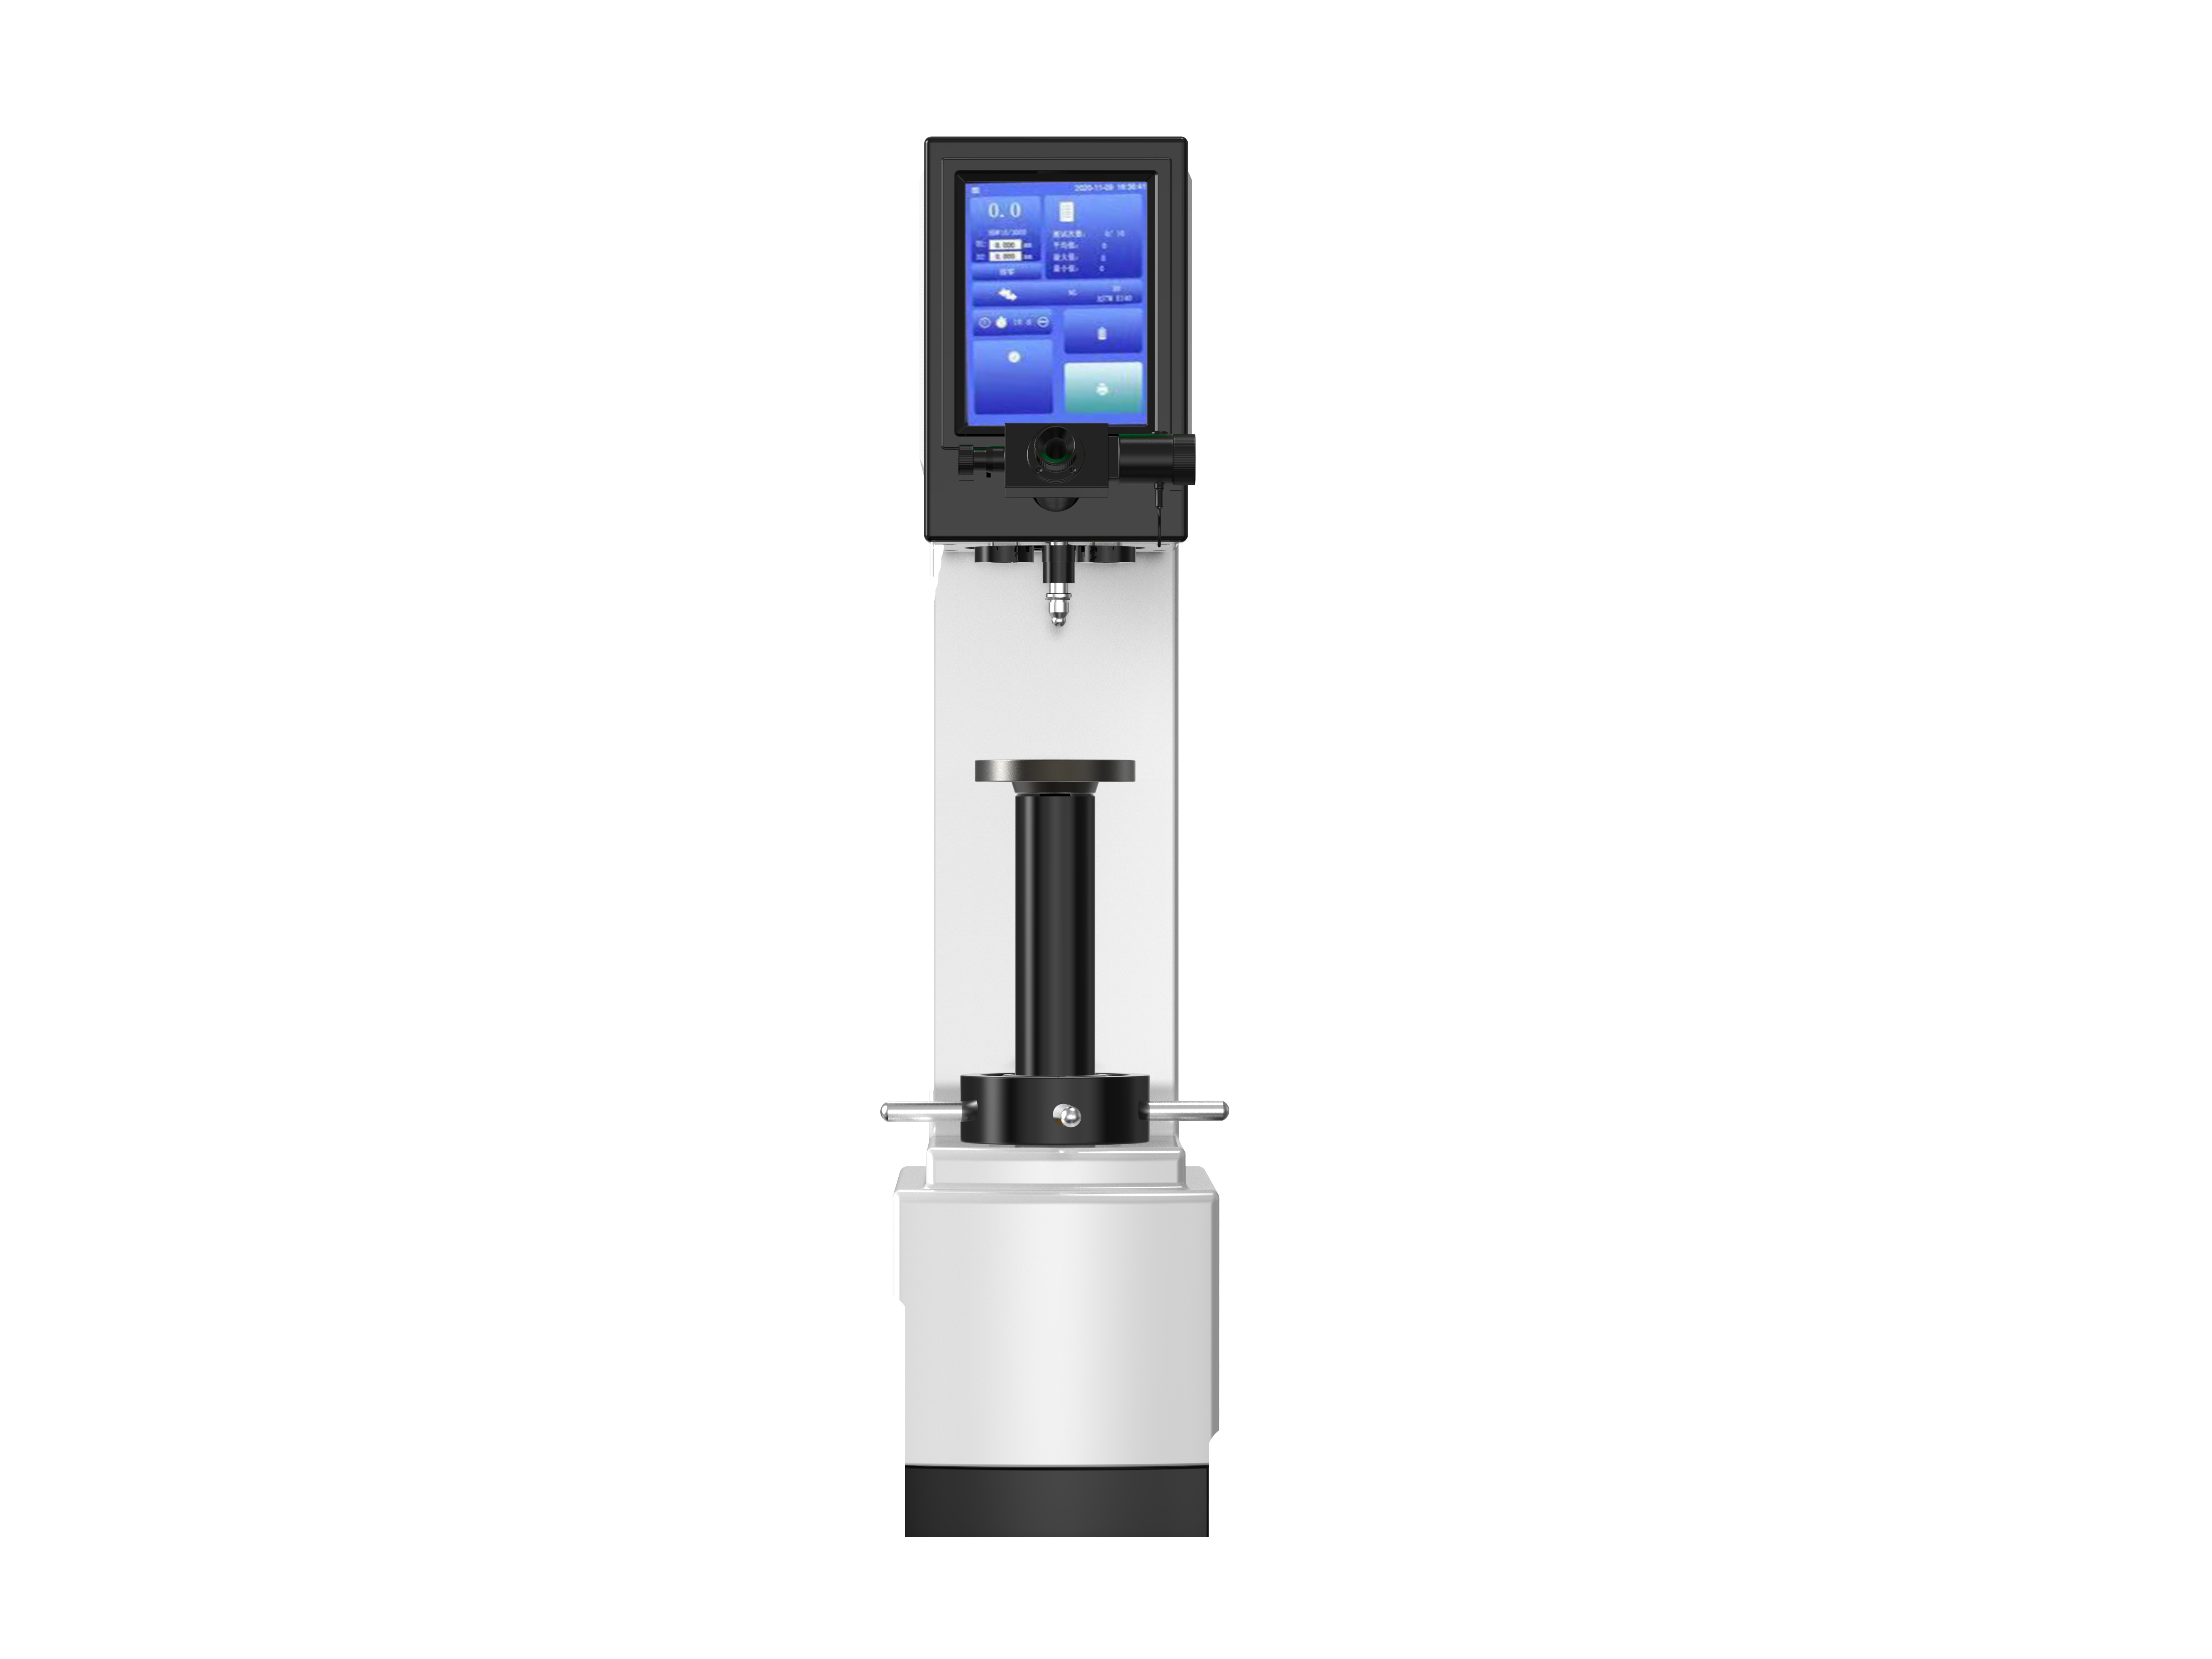
Hardness-Tester7MHXZD-1000A-1.jpg?x-oss-process=image/resize,h_1000,m_lfit/format,webp)
Miss out and regret! Understanding hardness tester knowledge will safeguard your industrial production. Let's embark on a fascinating journey to explore the world of hardness testers.
Hardness testers have come a long way from their simple beginnings. In the early days, they were basic tools with limited functionality. As technology advanced, they became more sophisticated and accurate. This evolution has been driven by the increasing demand for precise hardness measurement in various industries. For example, in the automotive industry, accurate hardness testing of engine components is crucial for ensuring their performance and durability. The development of hardness testers reflects the continuous pursuit of quality and innovation in industrial manufacturing.
The working principle of hardness testers involves the interaction between the indenter and the material being tested. When a certain load is applied to the indenter, it presses into the material, creating an indentation. The size of this indentation is then measured, and based on this measurement, the hardness of the material is determined. For instance, in a Brinell hardness test, a hardened steel ball is used as the indenter. The diameter of the indentation left on the material after the load is removed is measured, and this value is used to calculate the Brinell hardness number.
Hardness-Tester7MHXZD-1000A-1.jpg)
There are several common hardness testing methods, such as Brinell, Rockwell, and Vickers. Each method has its own unique principle and characteristics. The Brinell test uses a relatively large indenter and a high load, which is suitable for testing materials with a coarse-grained structure. The Rockwell test, on the other hand, has different scales and can be used for a wide range of materials, from soft plastics to hard metals. The Vickers test uses a square-based pyramid indenter and is known for its high accuracy, especially for testing thin materials and small parts.
| Testing Method | Indenter | Load | Suitable Materials |
|---|---|---|---|
| Brinell | Hardened steel ball | 3000 kgf (commonly) | Coarse-grained metals, castings |
| Rockwell | Diamond cone or steel ball | 60 - 150 kgf | Wide range of metals, plastics |
| Vickers | Square-based pyramid | 1 - 1000 gf | Thin materials, small parts |
Let's take a look at some real - world examples to understand the suitable materials for each method. For large steel forgings in the construction industry, the Brinell test is often used. Its large indenter and high load can provide a reliable hardness measurement for these thick and coarse - grained materials. In the electronics industry, where small and precise components are used, the Vickers test is preferred. It can accurately measure the hardness of thin metal sheets and semiconductor materials. For general metal parts in machinery manufacturing, the Rockwell test is a popular choice due to its simplicity and wide applicability.
Hardness-TesterHVS-1000-1.jpg)
Hardness testing plays a vital role in modern industry. In the aerospace industry, ensuring the hardness of aircraft engine components is essential for flight safety. By accurately measuring the hardness, manufacturers can detect any potential quality issues early on and take corrective measures. In the medical device industry, hardness testing is used to ensure the quality and durability of surgical instruments. These applications highlight the importance of hardness testers in maintaining product quality and performance.

Now, we'd love to hear your thoughts! Have you ever used a hardness tester in your industry? Share your experiences and insights in the comments below. And if you're interested in learning more about hardness testers or looking for the right hardness testing solution for your business, don't hesitate to contact us today!