Purchasing a hardness tester is often treated as a simple “more features = better” decision—especially when automation is involved. In real quality control and material verification work, however, fitness to your test tasks matters more than the highest automation level.
Laizhou Jincheng Industrial Equipment Co.,Ltd (established in 2004) supports B2B customers in hardness testing and metallographic inspection by providing complete equipment and consumables solutions. This page summarizes common buying misconceptions and a practical way to evaluate suitability based on samples, operators, workflows, and quality objectives.
A frequent procurement mistake is choosing a tester solely because it “covers the hardness values you measure today.” Hardness testing is defined not only by range, but by method selection (Vickers, Brinell, Rockwell, etc.), the applied load, and the indenter + measurement system.
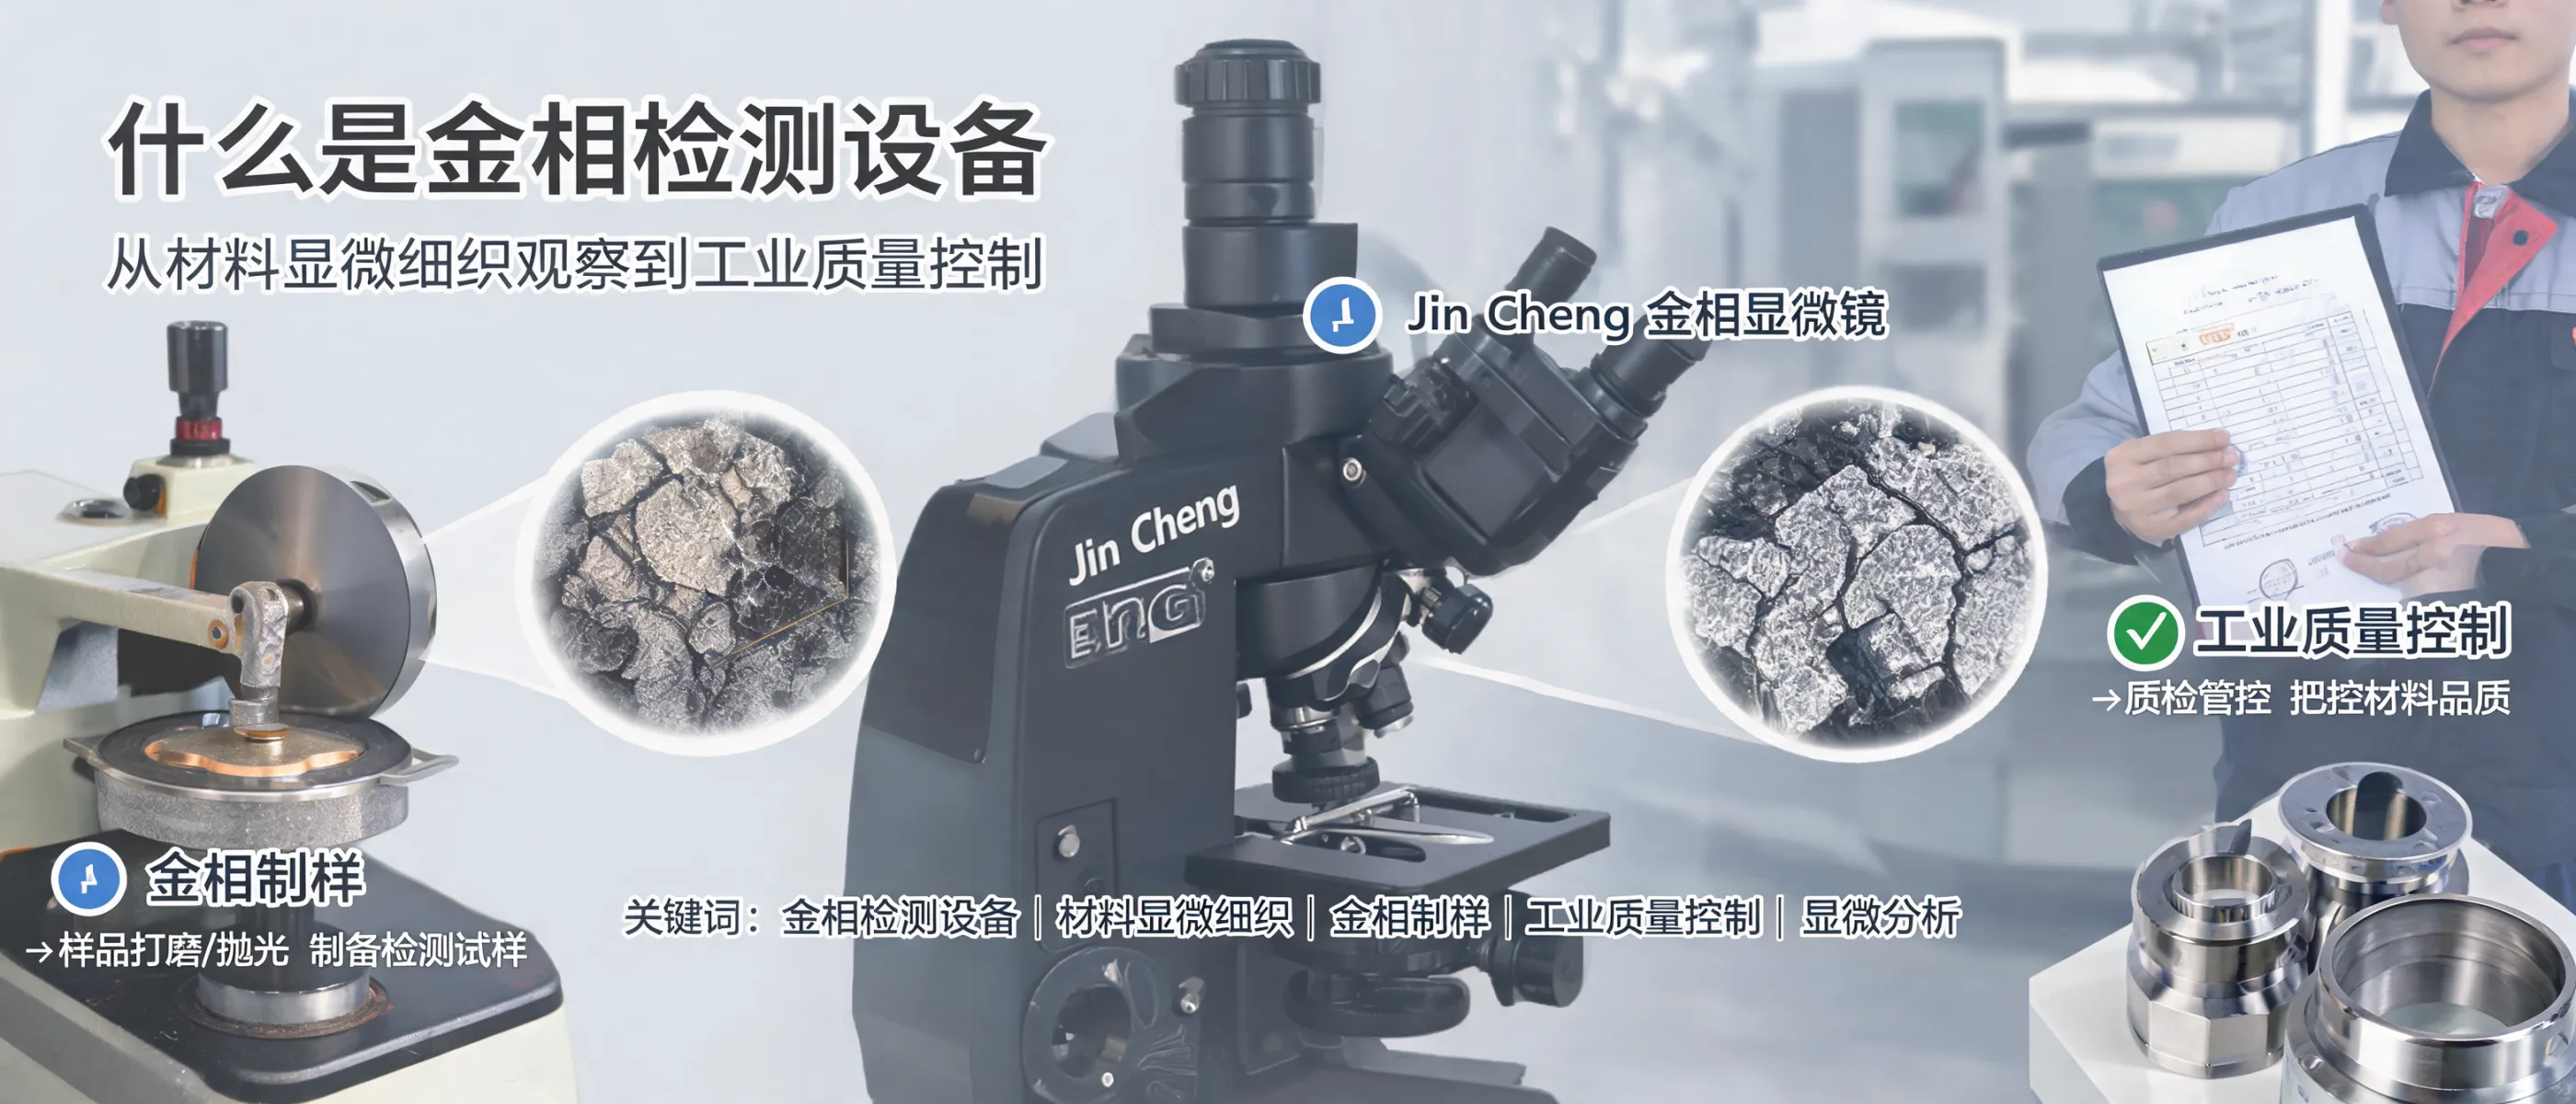
Hardness values can become unreliable when the sample surface, flatness, or preparation procedure is inconsistent. This is where metallographic sample preparation and workflow discipline matter—especially for lab-grade verification or high-precision analysis aligned with ASTM and ISO practices.
Laizhou Jincheng provides both manual metallographic sample preparation equipment for teaching and basic analysis and computerized preparation solutions designed for automated control and high-resolution optical support in precision workflows.
Automation can improve consistency and reduce manual steps, but it is not automatically the best fit for every production line, lab, or field inspection scenario. A mismatch often happens when teams buy the most automated model without checking whether it aligns with their operators, cycle time, part variability, and reporting needs.
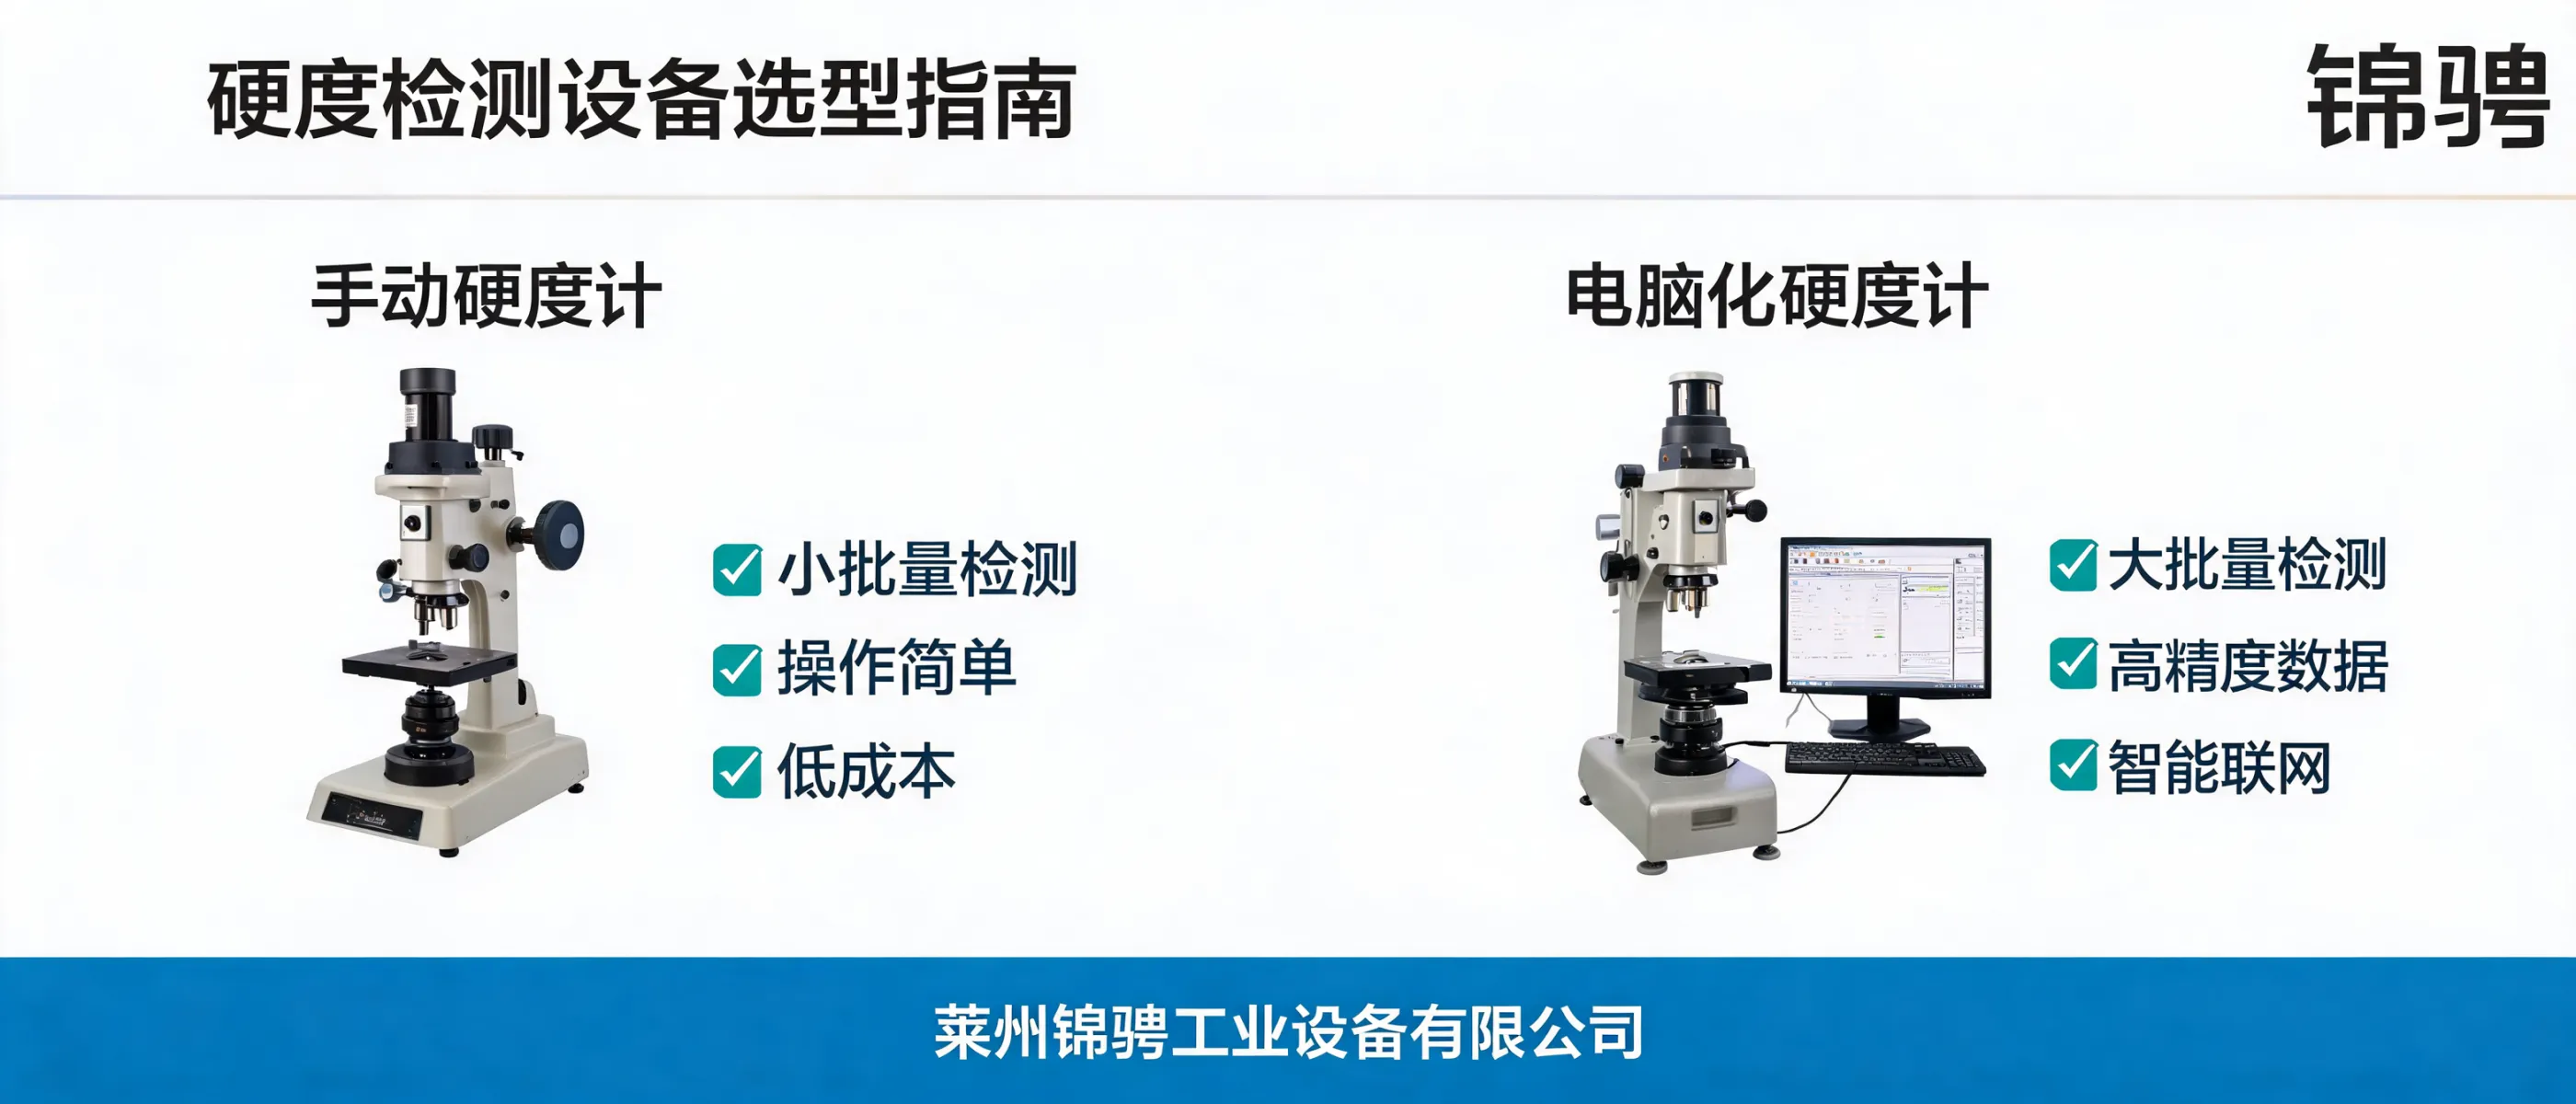
Laizhou Jincheng’s product portfolio includes manual hardness testers based on classic indentation principles for straightforward operation, and computerized hardness testing equipment with high-precision sensors and intelligent data processing to support automated workflows and output for common hardness scales (e.g., Vickers, Brinell, Rockwell) depending on configuration.
Many teams compare testers only by load range or optics and forget how test results will be stored, reviewed, and used. In quality control, the difference is often not the indentation—it’s whether your workflow supports consistent recording, retrieval, and analysis.
Practical rule: If your organization needs repeatable QC reporting across shifts or sites, prioritize a solution that fits your data workflow as much as your testing method.
Two hardness testers can look similar on paper yet behave differently with your actual parts—especially when sample preparation, fixtures, operator habits, and throughput constraints are introduced. The most reliable procurement decisions are made by aligning equipment evaluation with real materials, real operators, and real acceptance criteria.
To avoid automation-driven purchasing mistakes, evaluate hardness testing equipment using a structured logic:
What decision will the hardness result support (incoming inspection, process control, R&D comparison)? Which hardness methods are required?
Material type, thickness, surface condition, curvature, and expected variability; define preparation constraints and fixturing needs.
Who will operate it, how often, under what training conditions, and how results will be recorded and reviewed.
Choose the appropriate automation level based on repeatability needs, throughput, traceability, and maintenance capability—not feature count.
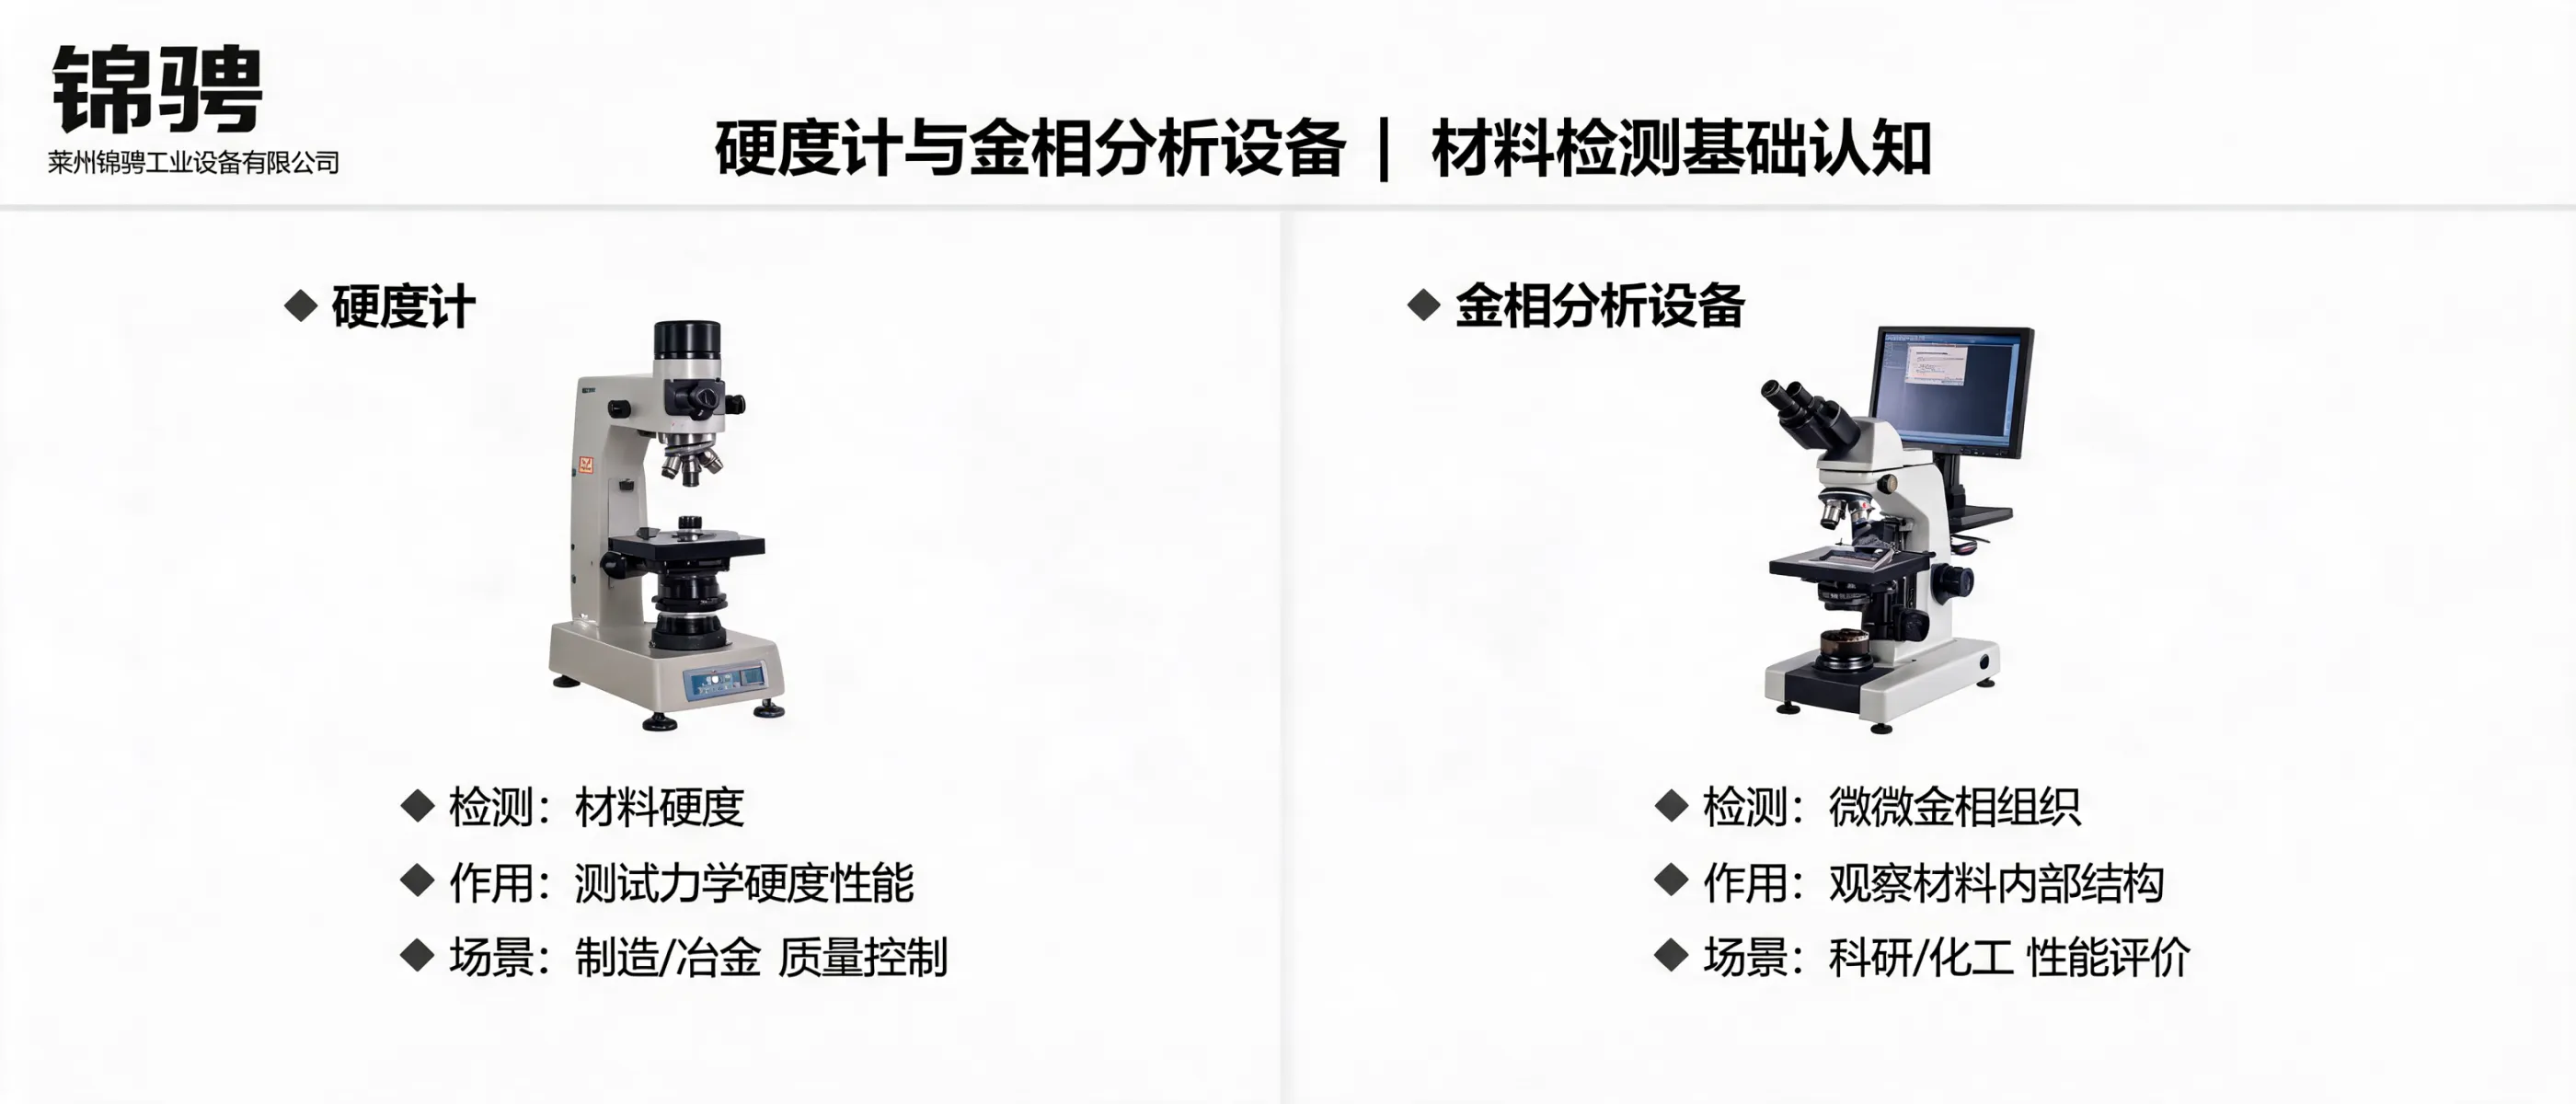
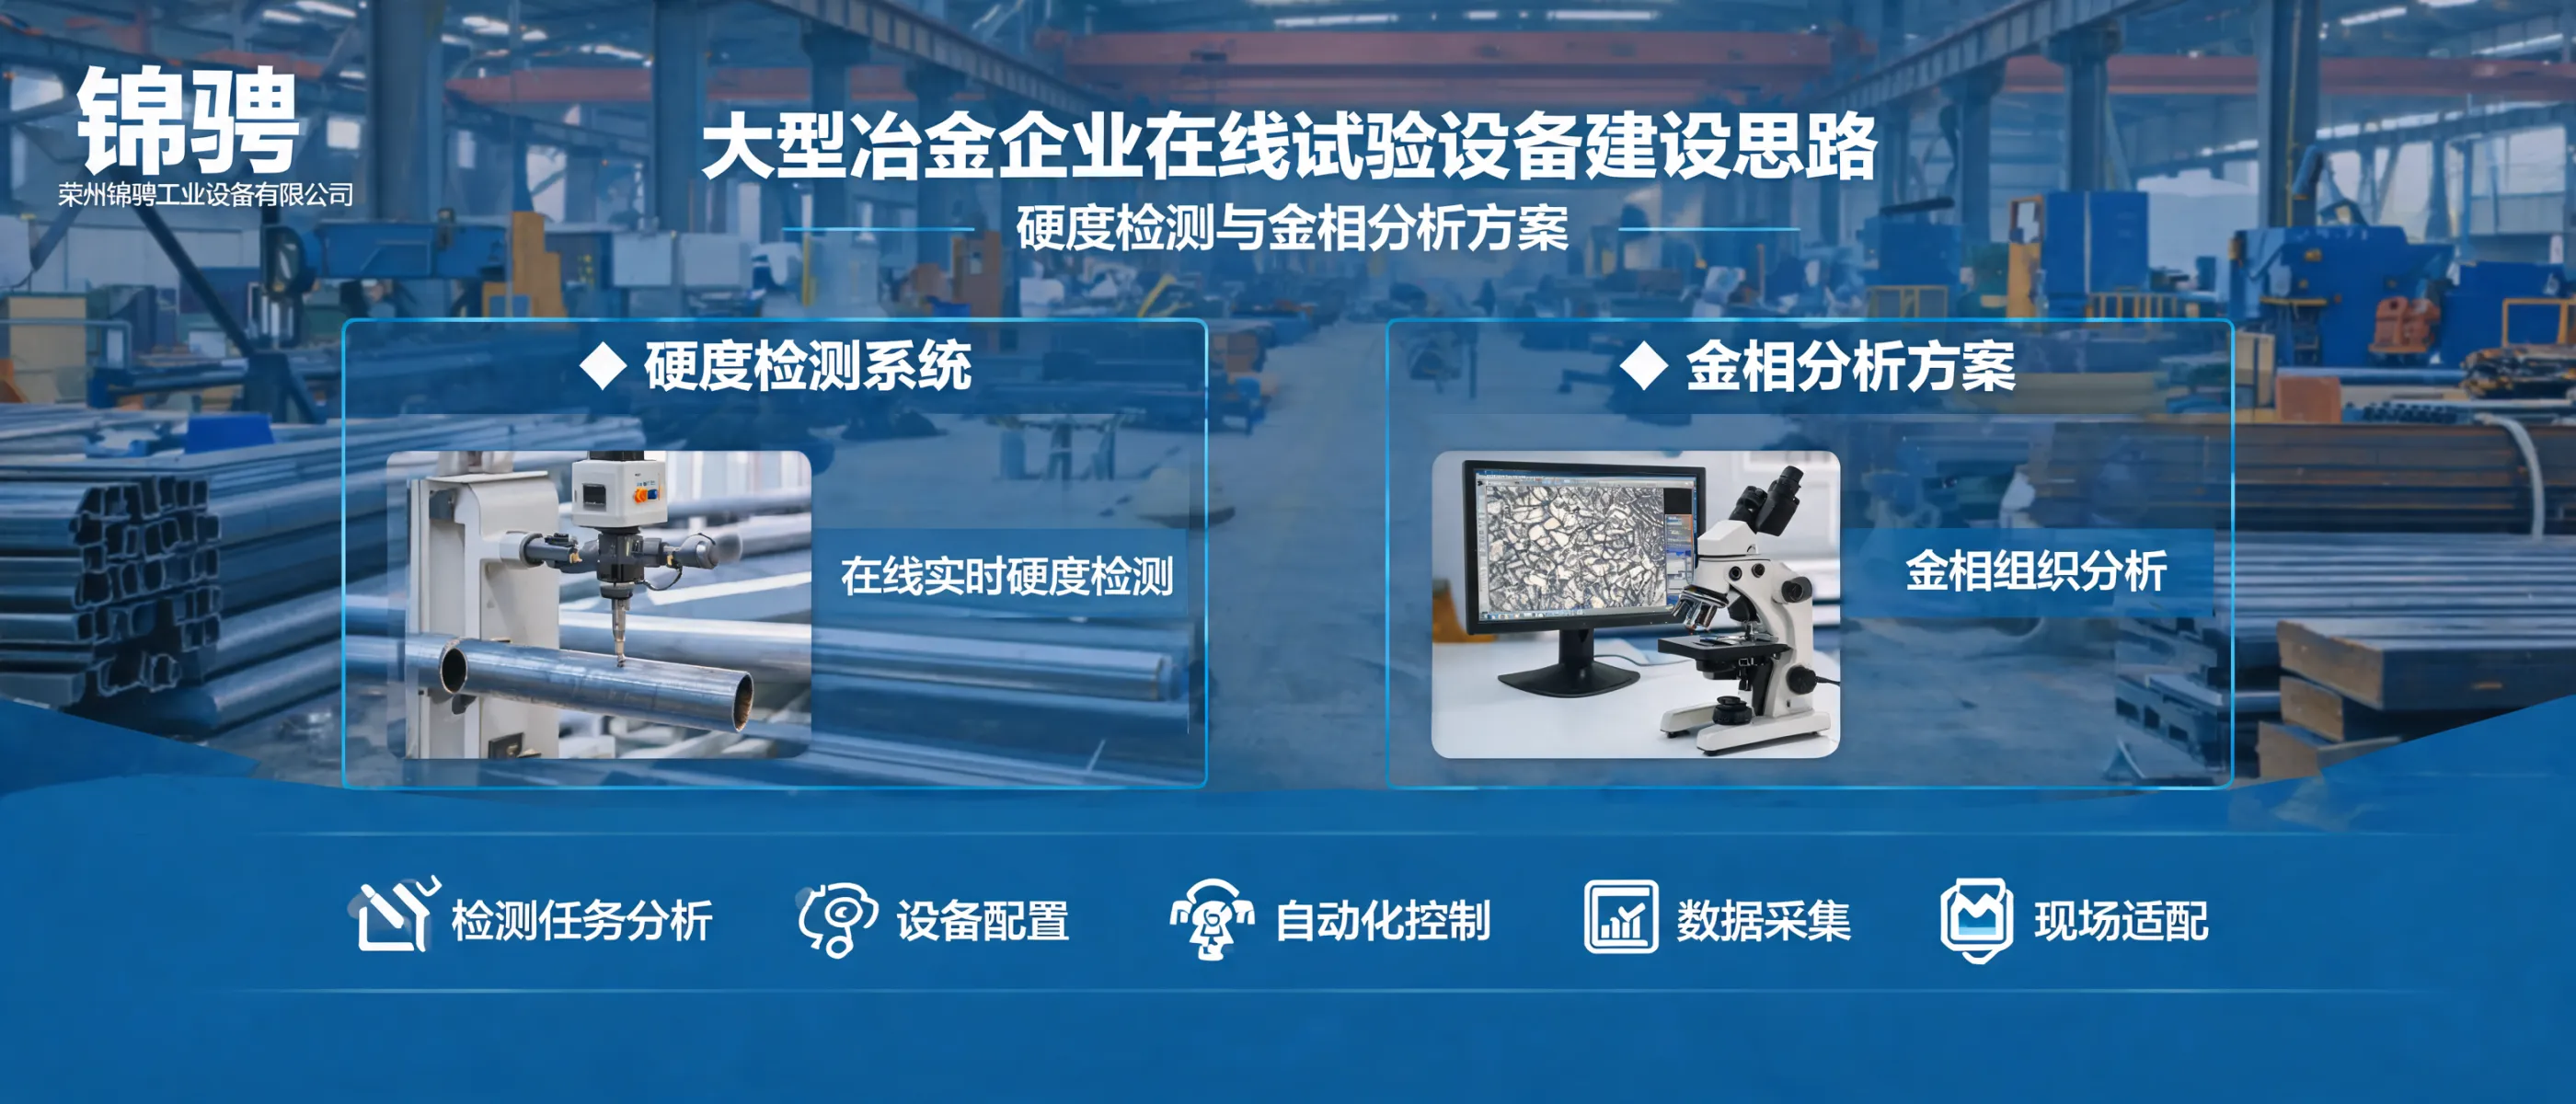
Serving customers in mechanical manufacturing, metallurgy, chemical industry, power, universities, and research institutes, Laizhou Jincheng Industrial Equipment Co.,Ltd supplies hardness testers and metallographic analysis equipment for different levels of complexity—from manual operation for straightforward applications to computerized solutions for higher consistency and data handling.
If you are evaluating a purchase for Russia, Southeast Asia, or Europe, align your inquiry with your real test scenarios (parts, methods, preparation flow, operator capability, and quality control objectives). This ensures the selected system supports stable results and a workable daily process—whether automation is required or not.


Hardness-TesterHVS-5103050-1.jpg?x-oss-process=image/resize,m_fill,h_600,w_600/format,webp)