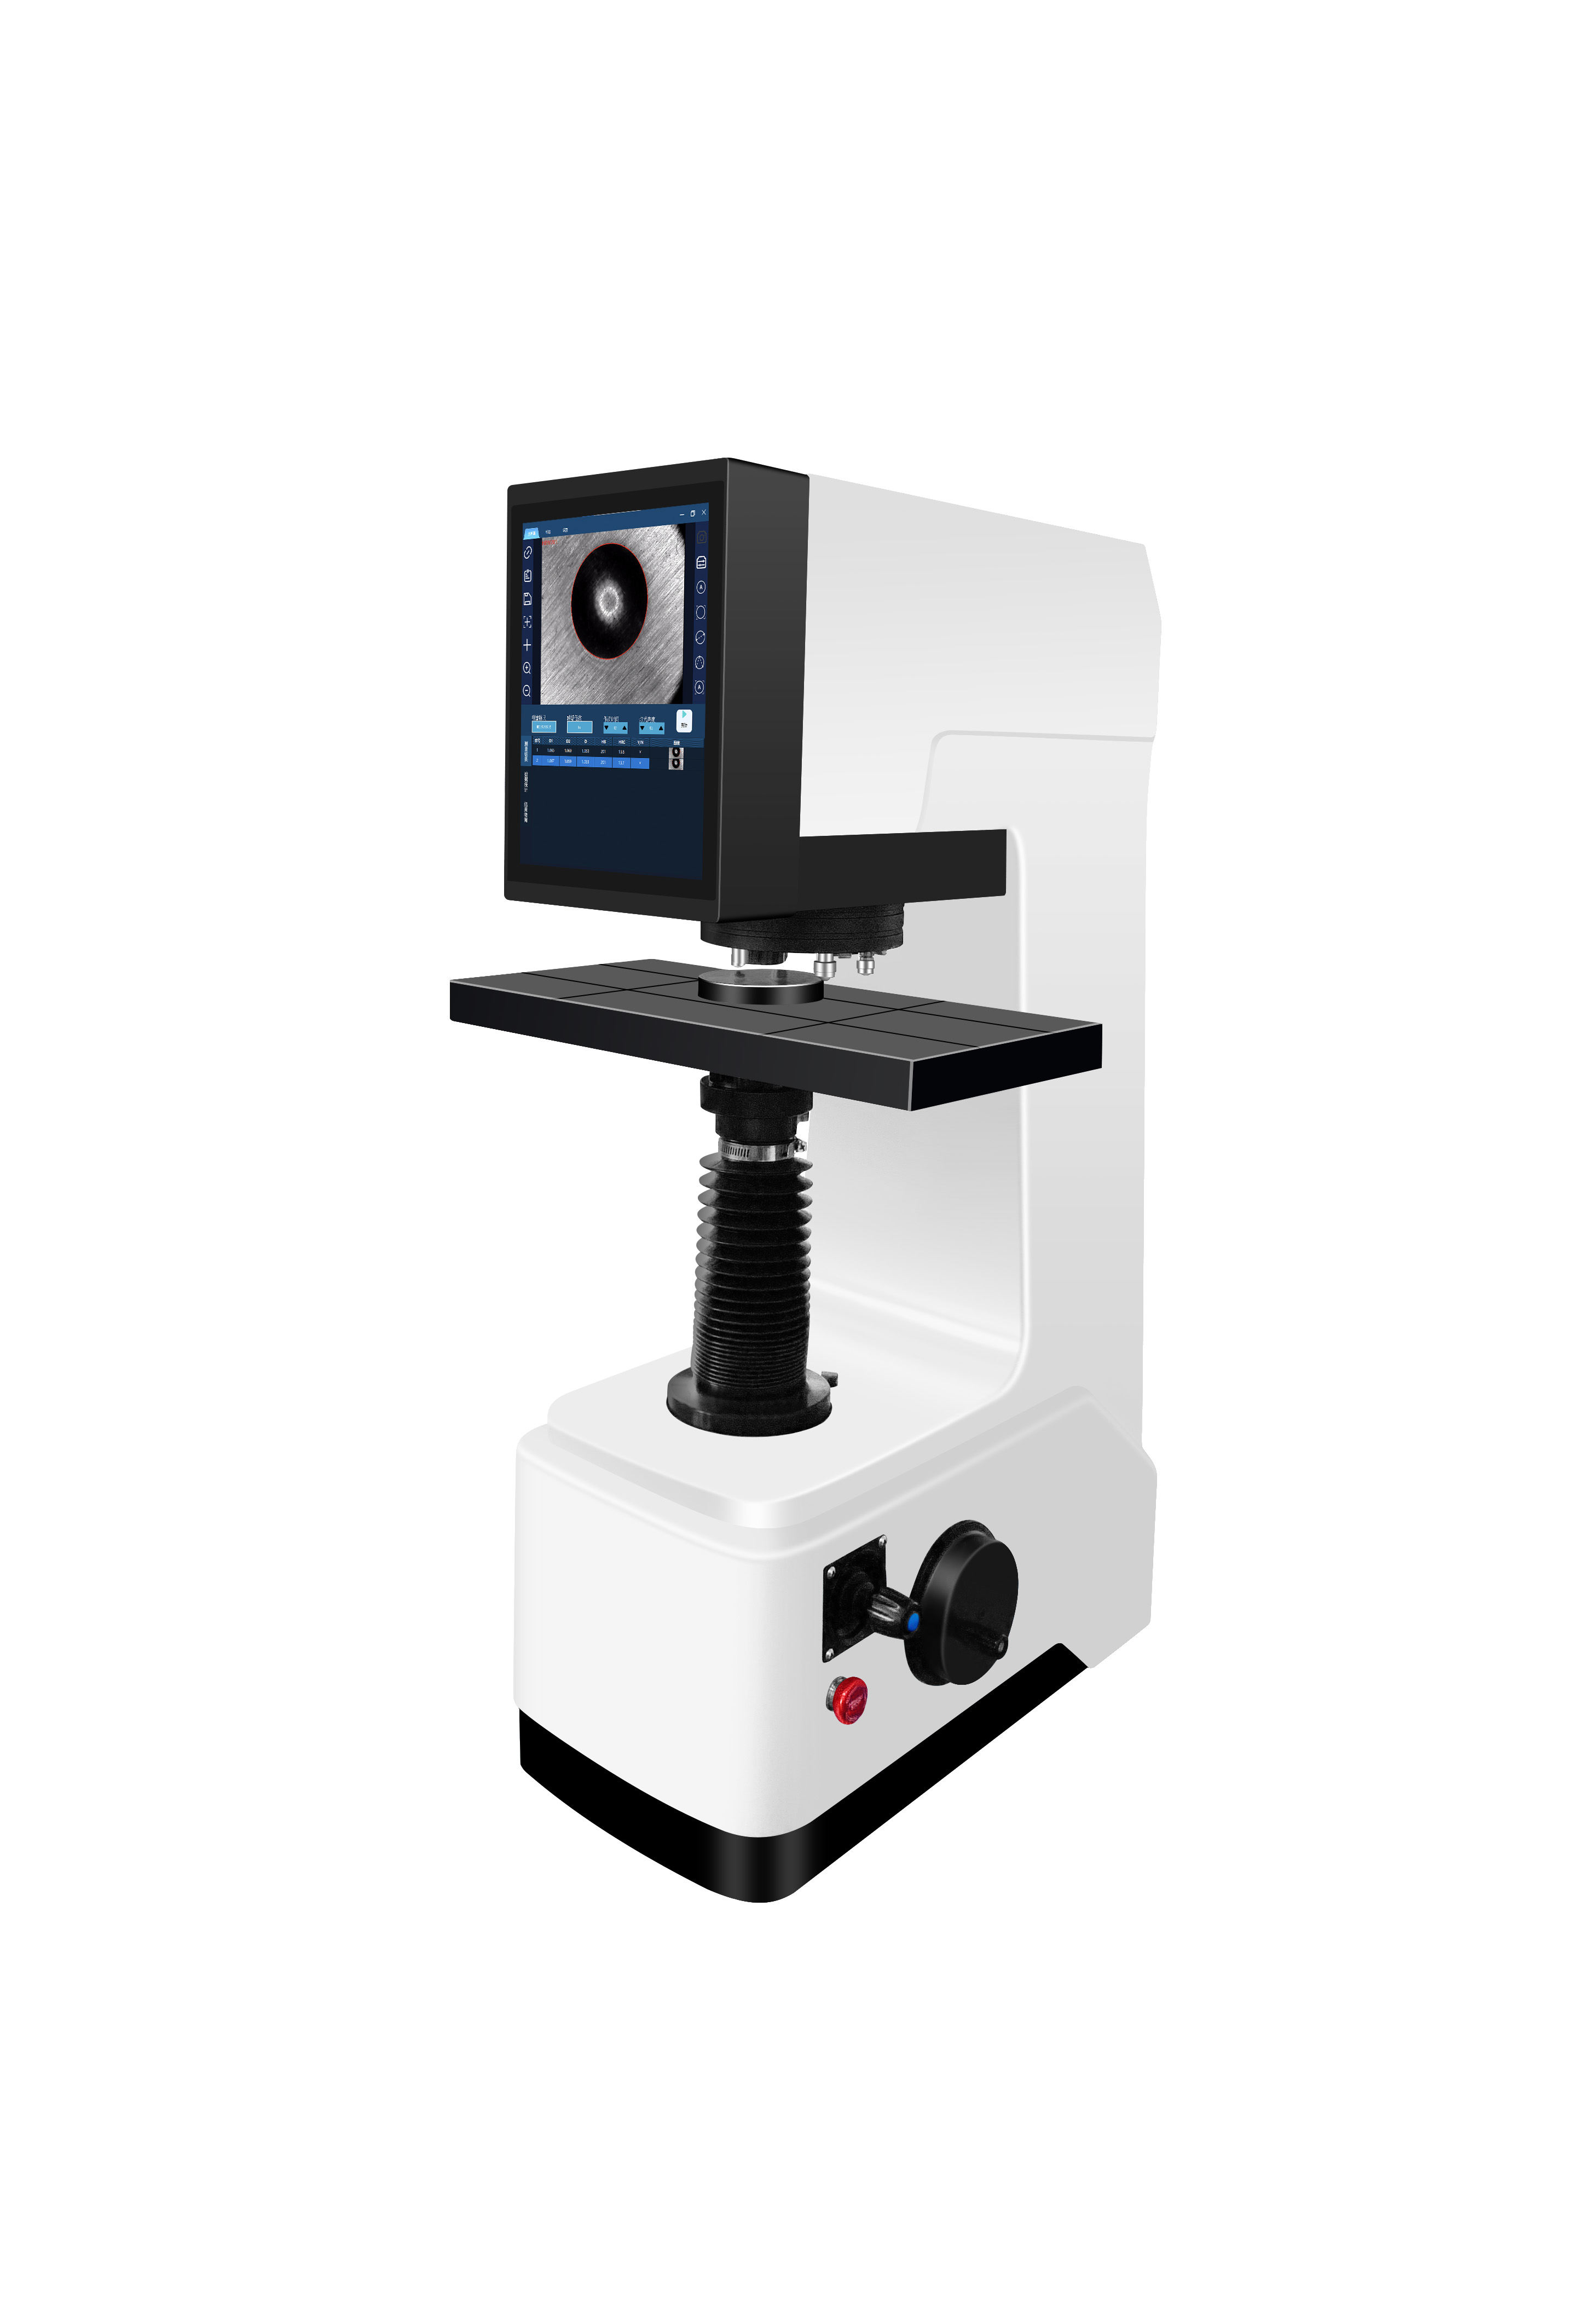
In the global manufacturing and engineering sectors, hardness testing isn’t just a quality check—it’s a strategic advantage. Whether you're supplying steel components to German automakers or precision parts to Japanese electronics firms, understanding how hardness testers work can significantly elevate your brand’s credibility and client trust.
The concept of measuring material resistance dates back centuries—early blacksmiths used simple scratch tests on metals. Today, modern hardness testers like Rockwell, Vickers, and Brinell models use standardized loads and indentations to deliver repeatable results. According to ISO 6506-1, over 70% of global metal suppliers now rely on automated hardness testers for final product validation—a shift that has reduced rework rates by up to 35% in high-volume production lines.
| Method | Typical Materials | Common Use Cases |
|---|---|---|
| Rockwell | Steel, Aluminum, Plastics | Production line QC, automotive parts |
| Vickers | Thin sheets, coatings, ceramics | Aerospace, medical devices |
| Brinell | Cast iron, non-ferrous alloys | Heavy machinery, foundry applications |
Consider this real-world case: A Spanish industrial supplier was losing bids due to inconsistent hardness reports from their clients’ labs. After switching to a calibrated Vickers tester with digital output (and integrating it into their ERP system), they saw a 40% reduction in customer complaints within six months—and won two new contracts in Germany.

This is not about complex physics—it’s about clarity. When you explain that Rockwell C-scale readings correlate directly with wear resistance in gear teeth (and show them a chart comparing HRC 50 vs. HRC 45 under simulated load), your clients feel confident in your expertise—not just your price.
Don’t wait until the buyer asks “How do you ensure consistency?”—anticipate the question. Include hardness test certificates with every shipment. Offer a free PDF guide explaining what each scale means in practical terms (e.g., "HRC 58 = suitable for cutting tools exposed to moderate heat"). These small touches build long-term relationships—not just one-off deals.
Ready to turn technical knowledge into client trust?
Get our free checklist: “Top 5 Ways to Improve Client Confidence Through Material Testing Data” — download now and see how other exporters are winning more orders without raising prices.
Download the Free Checklist →