Metallographic Sample Preparation: Standard Operating Steps from Cutting to Polishing
16 07,2026
Laizhou Jincheng Industrial Equipment Co.,Ltd
Operating Instructions
Laizhou Jincheng Industrial Equipment Co.,Ltd explains the standard workflow for metallographic sample preparation equipment—from cutting and mounting to grinding and polishing—highlighting key operating notes that affect microscopic observation and result accuracy.
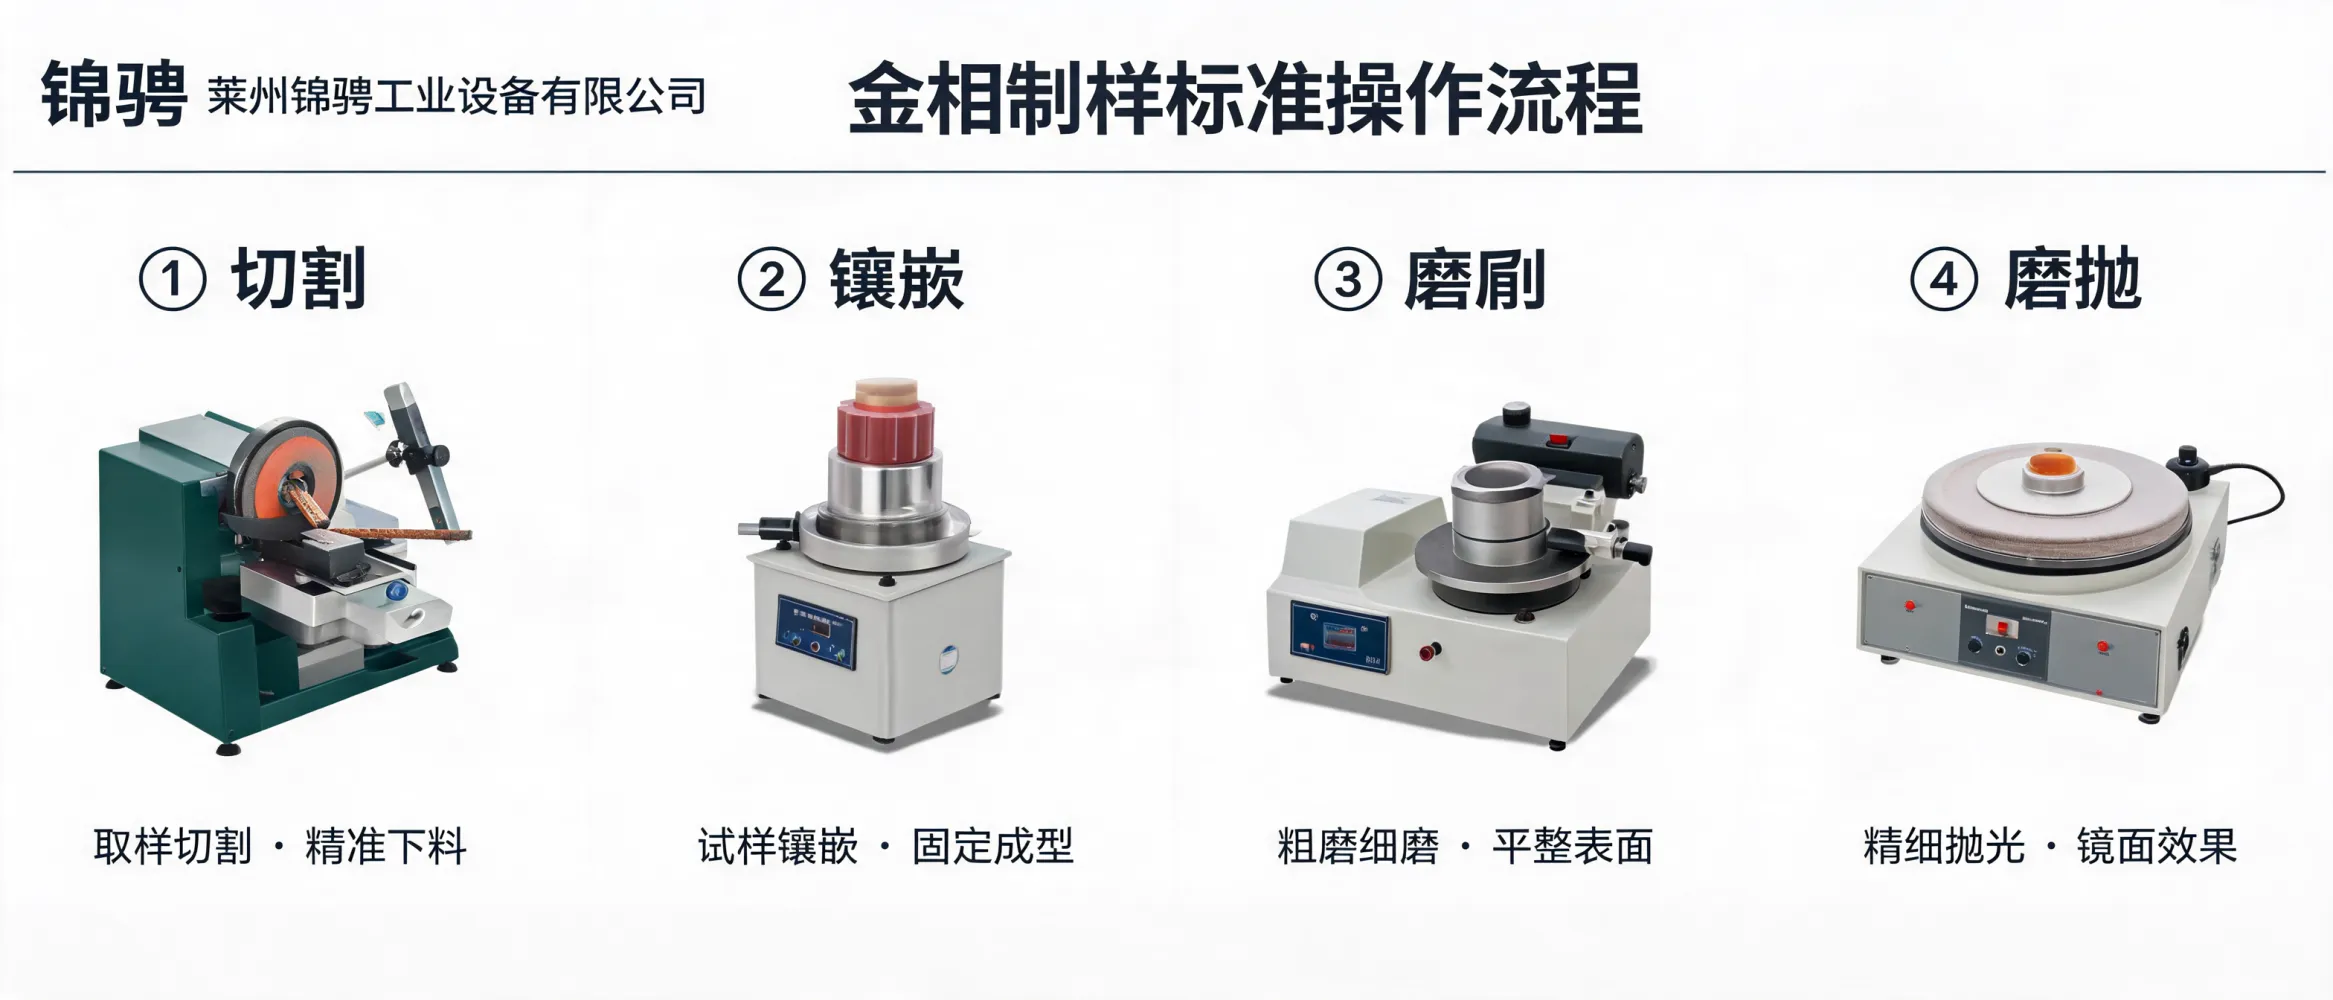
Metallographic sample preparation is the foundation of reliable microscopic observation. Surface deformation, pull-out, scratches, or contamination introduced during preparation can directly influence what you see under the microscope—and therefore the repeatability and accuracy of metallographic results.
Laizhou Jincheng Industrial Equipment Co.,Ltd provides practical guidance for using metallographic sample preparation equipment in the standard sequence of cutting → mounting → grinding → polishing, with operating notes that matter for labs, universities, and industrial quality control.
Standard Workflow Overview (Cutting to Polishing)
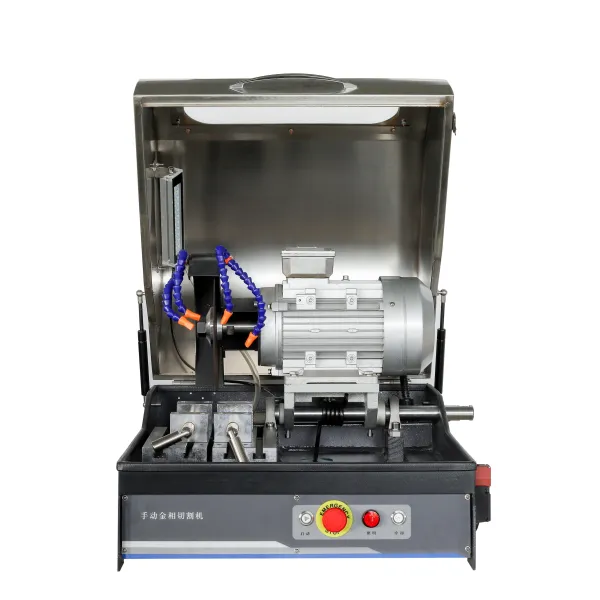
1) Cutting
Obtain a representative specimen while minimizing heat and deformation.
2) Mounting
Provide safe handling, edge retention, and stable geometry for grinding/polishing.
3) Grinding
Remove cutting damage and flatten the surface using stepwise abrasive changes.
4) Polishing
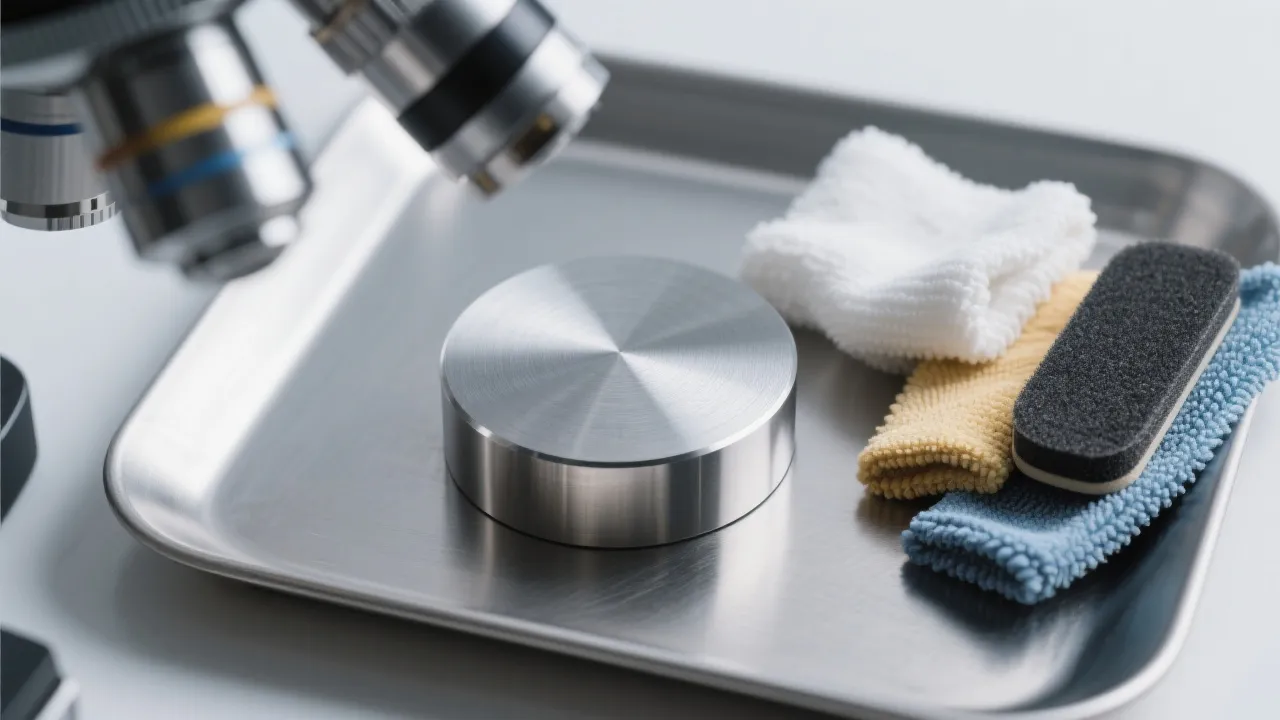
Create a scratch-free, deformation-minimized surface suitable for etching and microscopy.
Step 1 — Cutting: Key Operating Notes
- Representativeness first: choose a location that reflects the actual microstructure of interest (e.g., near welds, heat-affected zones, or surface-treated layers if applicable).
- Control heat and deformation: excessive heat can alter microstructure; use appropriate cutting parameters and cooling to reduce thermal damage.
- Maintain orientation: mark sample direction when grain flow, rolling direction, or layer orientation matters for interpretation.
- Clean after cutting: remove debris and coolant residues before mounting to avoid trapped contamination and edge defects.
Why it matters: cutting damage that is not fully removed during grinding/polishing can appear as false features under the microscope.
Step 2 — Mounting: Purpose and Good Practice
Mounting stabilizes small, thin, irregular, or edge-critical specimens and improves handling consistency throughout grinding and polishing.
- Edge retention: ensure the specimen is firmly supported at edges to reduce rounding during later steps.
- Surface cleanliness: oils and particles can lead to voids or poor adhesion around the specimen boundary.
- Orientation control: embed the sample so the target plane is perpendicular to the grinding surface for faster, more uniform material removal.
- Consistent geometry: standard mount size and flatness help achieve stable pressure and repeatable results across batches.
In teaching labs and routine QC, consistent mounting practices reduce variation between operators and improve comparability of metallographic observations.
Step 3 — Grinding: From Damage Removal to Planarity
Grinding is the controlled removal stage where you eliminate cutting damage and establish a flat, uniform surface. The goal is to remove the previous step’s defects before moving on.
- Stepwise abrasives: transition gradually from coarser to finer abrasives; do not skip steps if deep scratches remain.
- Uniform contact: keep the specimen flat on the grinding surface to avoid wedge shapes and uneven removal.
- Rinse between steps: cross-contamination by coarse particles is a common cause of persistent scratches.
- Monitor the surface: inspect frequently; move to the next grit only when the scratch pattern from the previous grit is fully removed.
| Grinding Checkpoint |
What to Look For |
Typical Cause if Not Met |
| Planarity |
Even reflection / no rocking |
Uneven pressure, poor mounting support |
| Scratch pattern |
Only the current grit’s scratch direction/size |
Skipped step, insufficient time, contamination |
| Cleanliness |
No embedded particles on surface/edge |
Inadequate rinsing/drying between stages |
Step 4 — Polishing: Achieving a Microscopy-Ready Surface
Polishing refines the ground surface to minimize scratches and deformation so that microstructural features can be revealed clearly during subsequent etching and observation.
- Use clean consumables: polishing cloths and abrasive media should be kept clean to avoid random deep scratches.
- Control pressure and time: excessive force can cause edge rounding or relief; insufficient time may leave grinding scratches.
- Prevent carryover: dedicate cloths/media to stages; rinse thoroughly when switching to a finer polishing step.
- Final cleaning: rinse and dry carefully to prevent stains or residues that can interfere with microscopic imaging.
Practical tip: If scratches persist after polishing, revisit the prior grinding stage rather than extending final polishing indefinitely—this often improves repeatability.
Common Issues That Affect Metallographic Accuracy
Deep scratches
Often from skipping abrasive steps or cross-contamination between grinding/polishing stages.
Edge rounding
May result from inadequate mounting support, excessive pressure, or prolonged polishing.
Pull-out / pits
Can occur with brittle phases or poor support; review mounting and polishing parameters.
Smearing / deformation
Often linked to excessive heat/pressure; adjust cutting, grinding load, and polishing approach.
Who This SOP-Style Guide Is For
- Metallography labs needing a consistent standard operating procedure for cutting, mounting, grinding, and polishing.
- Universities and teaching centers introducing students to metallographic sample preparation fundamentals.
- Industrial quality control teams preparing samples before microscopic inspection in manufacturing, metallurgy, chemical, and power-related applications.
- R&D groups requiring preparation practices aligned with ASTM and ISO-referenced workflows (implementation details depend on internal standards and materials).
About Laizhou Jincheng’s Metallography Capabilities
Founded in 2004, Laizhou Jincheng Industrial Equipment Co.,Ltd focuses on metallographic testing and hardness testing. We supply metallographic sample preparation equipment and consumables as a complete solution—ranging from manual preparation equipment for teaching and basic material analysis to computerized preparation solutions designed for automated control and high-resolution optical imaging support in precision workflows.
Our equipment is applied across mechanical manufacturing, metallurgy, chemical, power industries, universities, and research institutes, and we can support customized development for large-scale metallurgical testing equipment based on user requirements.
Next Step: Prepare with Consistency Before Microscopy
If you are setting up a repeatable metallography grinding and polishing process—or updating internal SOPs for cutting, mounting, grinding, and polishing—Laizhou Jincheng can help you align equipment selection and operating routines with your material types and inspection goals.







-1.jpg?x-oss-process=image/resize,h_1200,m_lfit/format,webp)


Hardness-Tester7MHVS-5103050A-1.jpg?x-oss-process=image/resize,h_1200,m_lfit/format,webp)