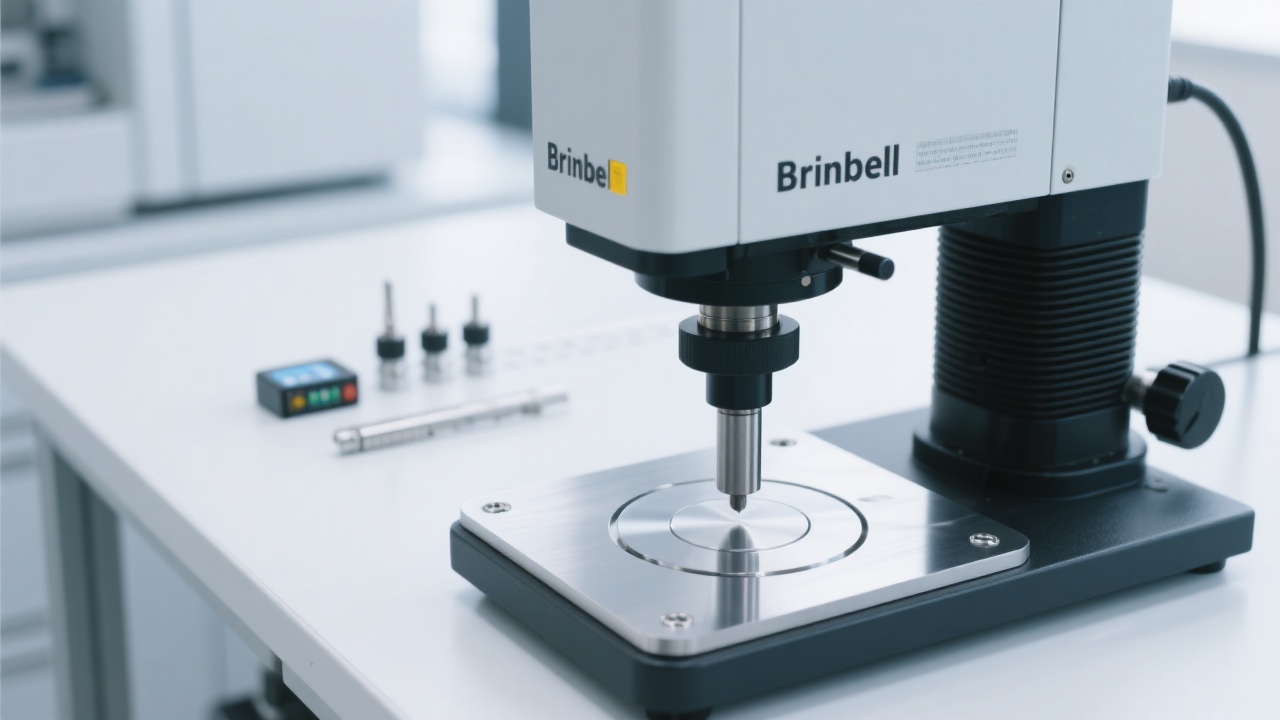
HV-1000 Micro Vickers Hardness Tester Built-In Calculator Tips for Faster, More Accurate Metal Hardness Testing
24 03,2026
Tutorial Guide
This guide explains how to use the built-in calculator of Jincheng’s HV-1000 micro Vickers hardness tester to improve the speed, accuracy, and consistency of metal hardness testing. It focuses on three high-impact functions: automatic indent recognition for diagonal measurement support, multi-point averaging to strengthen result representativeness, and intelligent hardness scale conversion to streamline reporting across common units. Practical step-by-step operating tips are paired with common mistakes and prevention advice to help laboratories and QC teams reduce manual calculation errors and align results with ISO 6507 testing practices. By standardizing data handling and enabling more consistent recordkeeping, the HV-1000 supports a more efficient, digital-ready hardness testing workflow for modern quality management.

How to Use a Micro Vickers Hardness Tester’s Built‑in Calculator (HV‑1000): Faster Results, Fewer Errors
In many labs and QC rooms, microhardness testing still loses time to the same friction points: manual diagonal reading, repeated arithmetic, inconsistent rounding, and unit conversions done “in the head” under deadline pressure. A modern microhardness tester built‑in calculator is designed to remove those bottlenecks—provided the team uses it correctly and consistently.
This guide explains practical, shop‑floor‑ready techniques for the Jincheng HV‑1000 micro hardness tester calculator functions, focusing on automatic indent recognition, multi‑point averaging, and smart hardness unit conversion, with common pitfalls and fixes aligned with ISO 6507 expectations for Vickers hardness testing.
Why the Built‑in Calculator Matters in ISO‑Aligned Workflows
When a team measures Vickers indents at the microscope, small inconsistencies compound quickly. In typical QC environments, moving from manual recording to calculator‑assisted workflows can reduce calculation and transcription time by roughly 30–50%, and reduce avoidable data errors (misread digits, wrong factor, wrong unit) by around 20–40%—especially when multiple operators share the same device and templates.
A practical definition of “data consistency”
For microhardness, consistency means the same sample, tested by different operators, yields comparable hardness values because the method is standardized: dwell time, load, diagonal reading rules, rounding rules, and reporting units. A well‑used built‑in calculator supports that consistency by locking the math to one standard procedure.
Feature 1: Automatic Indent Recognition — Use It Like a Pro
Automatic indent recognition aims to identify the Vickers indent edges and calculate the diagonal lengths more quickly than fully manual reading. In real labs, the biggest gains come from reducing repeated “measure‑recheck‑retype” loops—while keeping operator judgement where it matters (surface quality and edge clarity).
Step-by-step: a reliable setup routine
- Confirm the method parameters before any measurement: load (HV scale), dwell time, objective magnification, and illumination. ISO 6507 commonly uses dwell times in the 10–15 s range depending on procedure—your internal standard should specify one and stick to it.
- Prepare the surface for edge contrast: fine polishing is not cosmetic; it determines whether the indent corners are crisp. In practice, poor polish is the #1 cause of “auto” readings drifting.
- Center and focus the indent: use consistent focusing rules (e.g., focus on indent edges, not scratches). Small focus differences can shift the apparent edge position.
- Run auto recognition, then validate: check whether the detected corners align with the true indent vertices. If edges are ambiguous, switch to manual adjustment instead of forcing an auto result.
- Store the result with traceability fields: sample ID, location, load, dwell, operator, and date. This is the foundation for audits and repeatability studies.
Common mistakes (and how to avoid them)
- Mistake: trusting auto recognition on rough/etched surfaces.
Fix: define a “minimum surface quality” rule; if edge contrast is low, do manual corner confirmation.
- Mistake: inconsistent illumination between operators.
Fix: set a standard lamp/brightness range and keep it constant for a batch.
- Mistake: measuring indents too close to edges or previous indents.
Fix: follow spacing rules from your method (commonly multiple indent diameters apart), and document exceptions.
Feature 2: Multi‑Point Averaging — Faster, More Representative Hardness
Single indents can be misleading when microstructure varies (heat‑affected zones, carburized layers, weld toes, cast regions). The built‑in calculator’s multi‑point averaging is not just about convenience—it supports better sampling discipline and cleaner reporting.
Recommended workflow (QC-friendly)
| Scenario |
Suggested points |
Why it helps |
Calculator tip |
| Incoming inspection (uniform metal) |
3–5 indents |
Catches local anomalies without oversampling |
Use averaging + standard deviation if available |
| Case depth / surface treatment gradient |
5–9 along a line |
Shows trend vs. depth/distance |
Group results by position labels |
| Weld/HAZ mapping |
7–15 (depending on spec) |
Improves representativeness across zones |
Use separate averages per zone |
Avoid these averaging traps
- Trap: mixing different loads (e.g., HV0.2 and HV1) in one average.
Better: average only within the same load/dwell condition; report each condition separately.
- Trap: averaging across different microstructural zones (base metal + HAZ + weld) as if they were one population.
Better: label zones and compute per-zone averages; this aligns with how engineers interpret the data.
- Trap: rounding each point too early.
Better: keep full resolution for each indent, then round the final reported value according to your SOP.
Feature 3: Smart Hardness Unit Conversion — What It Can (and Cannot) Do
Buyers, auditors, and cross‑functional teams often request results in different scales. A built‑in function for hardness value quick conversion can save time, but it must be used responsibly. Hardness conversions are typically empirical approximations and may vary by material class, heat treatment, and microstructure.
A safe reporting rule (audit-friendly)
If a report uses converted values (e.g., HV to HRC/HB), it should always retain the original HV as the primary measured value, and mark converted values as “converted/estimated” unless a customer specification explicitly allows conversion as a substitute.
Quick conversion checklist for consistent results
- Confirm the customer’s required scale: HV, HBW, HRC, or tensile strength estimate. Don’t guess—match the PO/spec.
- Select the correct material category (if available): conversions differ between steels, non‑ferrous alloys, and special cases.
- Keep both values in the record: “Measured: 612 HV0.5; Converted: ~55 HRC (reference conversion).”
- Standardize rounding: define one rounding rule in your SOP (for example, HV to nearest whole number, converted HRC to nearest 0.5).
Reference table (typical engineering approximation)
The values below illustrate common approximate relationships for hardened steels. Actual conversions should follow your chosen reference (e.g., ASTM E140) and internal method.
| Measured (Vickers) |
Approx. Rockwell C (HRC) |
Use case note |
| ~300 HV |
~31 HRC |
Medium-hard steels; verify per spec |
| ~500 HV |
~50 HRC |
Common for heat-treated tooling |
| ~700 HV |
~60 HRC |
High hardness; conversions become sensitive |
Digital Recordkeeping: Making Results Easier to Audit and Easier to Trust
For ISO-minded organizations, the value of a built‑in calculator is not only speed—it’s the ability to produce repeatable records. A consistent digital workflow helps when internal quality teams ask: “Can we reproduce this number six months later?”
What a “clean” microhardness record should contain
- Test method: Vickers per ISO 6507 (and any internal procedure ID)
- Test condition: load (e.g., HV0.5), dwell time, objective magnification
- Sample details: material grade, heat treatment (if known), sample ID/lot
- Measurement set: each indent value + average (and dispersion if tracked)
- Location mapping: distance from surface/edge or zone labeling
- Operator & timestamp: who tested, when, and revision of the SOP
Mini case example (what teams typically change)
A machining supplier testing hardened pins moved from manual diagonal calculations to a standardized calculator workflow on the HV‑1000. After training two operators on the same illumination and rounding rules, re-test variation between operators dropped noticeably (commonly by 1–2 HV on repeat samples in stable conditions), and daily throughput improved—mainly because results no longer needed second-pass spreadsheet verification.
Quick “Do/Don’t” List for HV‑1000 Calculator Users
Do
- Use the calculator to standardize math and rounding across shifts
- Validate auto-recognized corners; switch to manual if edges are unclear
- Average within the same load/dwell and the same microstructural zone
- Report HV as the primary measured value; label conversions clearly
Don’t
- Don’t treat conversions as a substitute for the required test method
- Don’t average mixed conditions (HV0.2 + HV1) in one line
- Don’t accept “auto” results on rough surfaces without verification
- Don’t skip traceability fields when results go into a quality system
Ready to Standardize Microhardness Testing with HV‑1000?
For labs and QC teams aiming to reduce manual steps and improve repeatability, the Jincheng HV‑1000 micro hardness tester calculator workflow is a practical starting point—especially when paired with a clear SOP, operator training, and ISO‑style traceability.
Get the HV‑1000 Micro Hardness Tester Setup & Operation Checklist
Includes recommended measurement templates for multi-point averaging and unit conversion reporting fields.


Hardness-TesterHV-1000-1.jpg?x-oss-process=image/resize,h_1200,m_lfit/format,webp)


