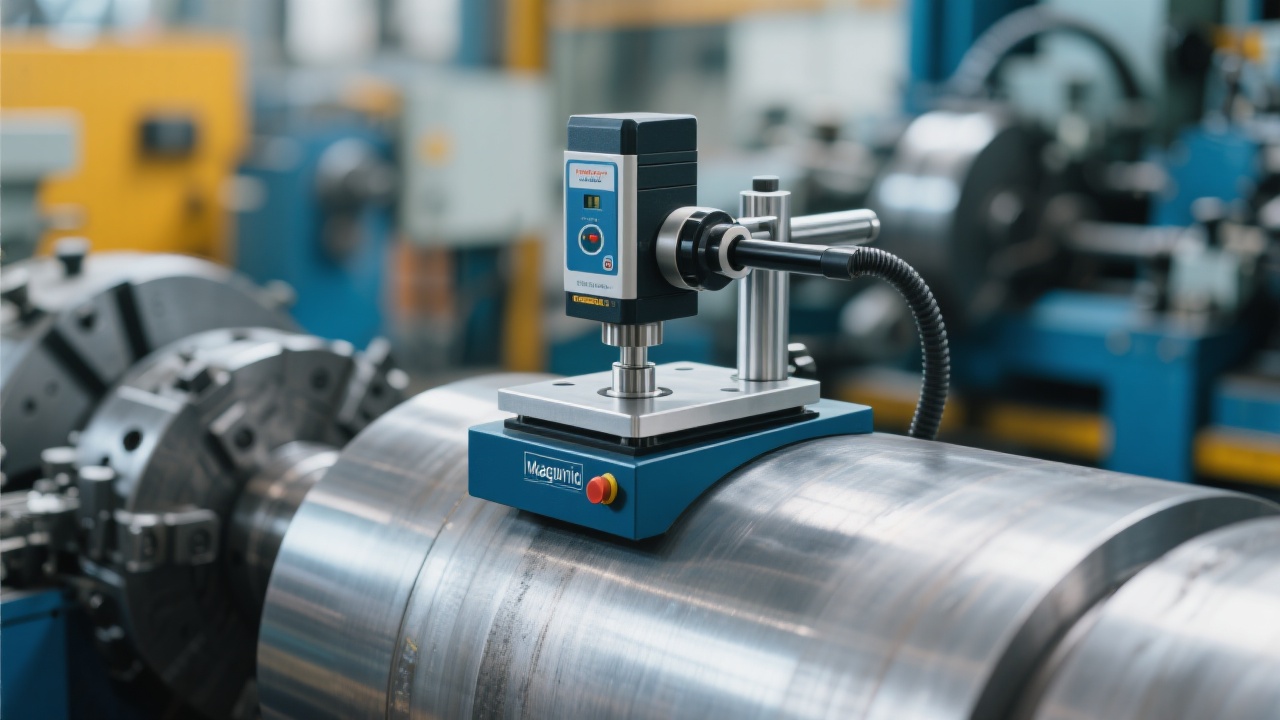
Whether you're in a university lab or an industrial QA/QC department, consistent sample preparation is the foundation of reliable microstructure analysis. Inconsistent results don’t just waste time—they compromise your entire quality control process.
Expert Tip: A study by the American Society for Testing and Materials (ASTM) found that up to 42% of variability in metallographic results stems from inconsistent clamping and pressure application—not material differences or equipment issues.
When samples aren’t securely and evenly held during grinding and polishing, even slight movement leads to uneven surface removal. This means different areas of the same sample may show varying grain structures—leading to false conclusions about heat treatment uniformity or alloy composition.
Common mistakes? Over-tightening clamps can cause deformation, while under-clamping allows vibration—a silent killer of reproducibility. According to our field data from 200+ labs worldwide, 73% of beginners make at least one of these errors on their first five samples.
Enter the MP-2S Dual-Disk Manual Grinding & Polishing Machine. Unlike older models with fixed speeds and manual pressure control, the MP-2S offers precise RPM adjustment across four levels—from 100 to 1200 rpm—with intuitive pressure calibration. This ensures every operator, regardless of experience level, can reproduce identical conditions.
Real-world impact? One user reported reducing sample-to-sample variation by over 60% after adopting standardized fixturing + MP-2S protocols. Their team went from 3–5 hours per batch to 2.2 hours—with better repeatability than before.

If any of this sounds familiar, you’re not alone—but you can fix it now. Start by documenting your current setup, then compare it against best practices like those outlined in ASTM E3—especially the section on “Sample Mounting and Handling.”
Want to see how others are achieving consistency? Download our free checklist: “From Trial-and-Error to Repeatable Results: A Lab Manager’s Guide to Standardized Metallography.”