Metallographic Cutting Equipment Selection Guide: Matching Cutting Needs to Material Types

19 11,2025
Jin Cheng
Product related content
Why do you fail to observe authentic microstructures under your metallographic microscope? The answer often lies in the sample preparation phase—especially during cutting. This article delves into how high-precision metallographic cutting machines achieve distortion-free, contamination-free cutting surfaces through stable rotation speeds, accurate feed control, and efficient cooling systems. These features ensure smooth subsequent grinding and polishing processes, significantly enhancing microstructure observation accuracy. By comparing typical scenarios such as failure analysis and grain size measurement with the limitations of traditional manual tools, this guide helps laboratory professionals make informed equipment choices to establish standardized material analysis workflows.
营销主题配图_1753167332722.jpg

Metallographic Cutting Equipment Selection Guide: Matching Cutting Needs to Various Materials

Have you ever wondered why the microstructures under your metallographic microscope don’t truly reflect the material’s real organization? Often, the answer lies hidden in the sample preparation phase — especially the cutting step. Precise cutting is the foundation of accurate metallographic analysis, ensuring that subsequent grinding and polishing deliver clear, undistorted microscopic images.

Why High-Precision Metallographic Cutters Matter

Traditional manual cutting methods may introduce surface deformation, contamination, or thermal damage, compromising microstructure integrity. High-precision metallographic cutting machines address these challenges by maintaining a stable cutting speed, delivering uniform feed rates, and employing efficient cooling systems. This combination minimizes heat-affected zones and preserves surface integrity.

Key technical advantages include:

  • Thermal damage control: Maintaining cutting temperatures below the material’s critical threshold to avoid microstructural changes.
  • Surface completeness: Producing clean, deformation-free edges that facilitate clear microscopic observation.
  • Repeatability: Ensuring consistent sample preparation for reproducible research results.

Impact of Cutting Precision Across Materials and Applications

Different materials require tailored cutting parameters. For example, brittle ceramics demand slow feed and high blade sharpness to prevent chipping, whereas ductile metals require optimized cooling and steady feed to avoid smearing or thermal alteration.

Material Type Recommended Cutting Speed (mm/min) Cooling Method Typical Cutting Challenges
Steel and Alloys 0.5 - 2.0 Water-based coolant Heat-induced microstructural changes
Ceramics 0.1 - 0.5 Air cooling or minimal coolant Brittle fracture, chipping
Aluminum and Non-ferrous Metals 2.0 - 5.0 Water-based or oil coolant Smearing and surface distortion

Practical Tips to Assess Cut Quality

Ensuring that your cutting surface meets metallographic standards is critical for trustworthy results. You can judge cut quality via:

  • Visual inspection: Look for smooth, clean edges without burrs, cracks, or discoloration indicative of thermal damage.
  • Microscopic examination: Confirm absence of deformation or smearing by analyzing the sample edge at 50x magnification or more.
  • Standard compliance: Refer to ASTM E3, which outlines procedures for preparing metallographic specimens with minimal alteration.

Enhancing Research Outcomes with the Right Equipment

Investing in a high-precision metallographic cutting machine is not just about hardware — it’s about empowering your laboratory’s credibility and efficiency. Precise cutting sets the stage for reliable failure analysis, grain size measurement, and microstructural characterization, accelerating research turnaround without sacrificing accuracy.

Ultimately, the right cutting equipment helps you make every cut the starting point for dependable data.

High-precision metallographic cutting machine maintaining stable cutting conditions

Case Study: Identifying Crack Initiation Sites

In failure analysis, detecting crack origins accurately is paramount. Improper cutting can introduce micro-cracks or mask existing ones. Utilizing a cutting machine with controlled feed and coolant flows preserves these critical structures, enabling definitive conclusions.
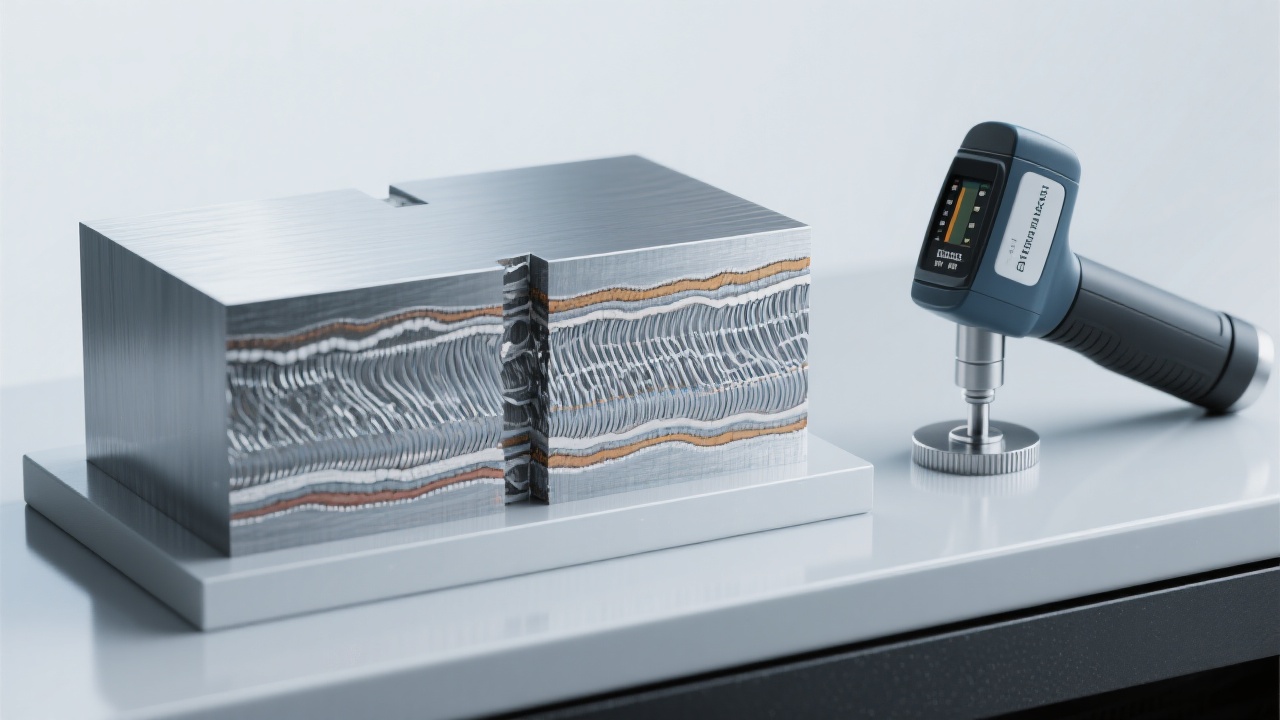
Comparison chart showing crack detection accuracy between manual and automated cutting

Final Recommendations for Selecting Your Metallographic Cutter

Consider the following when choosing your equipment:
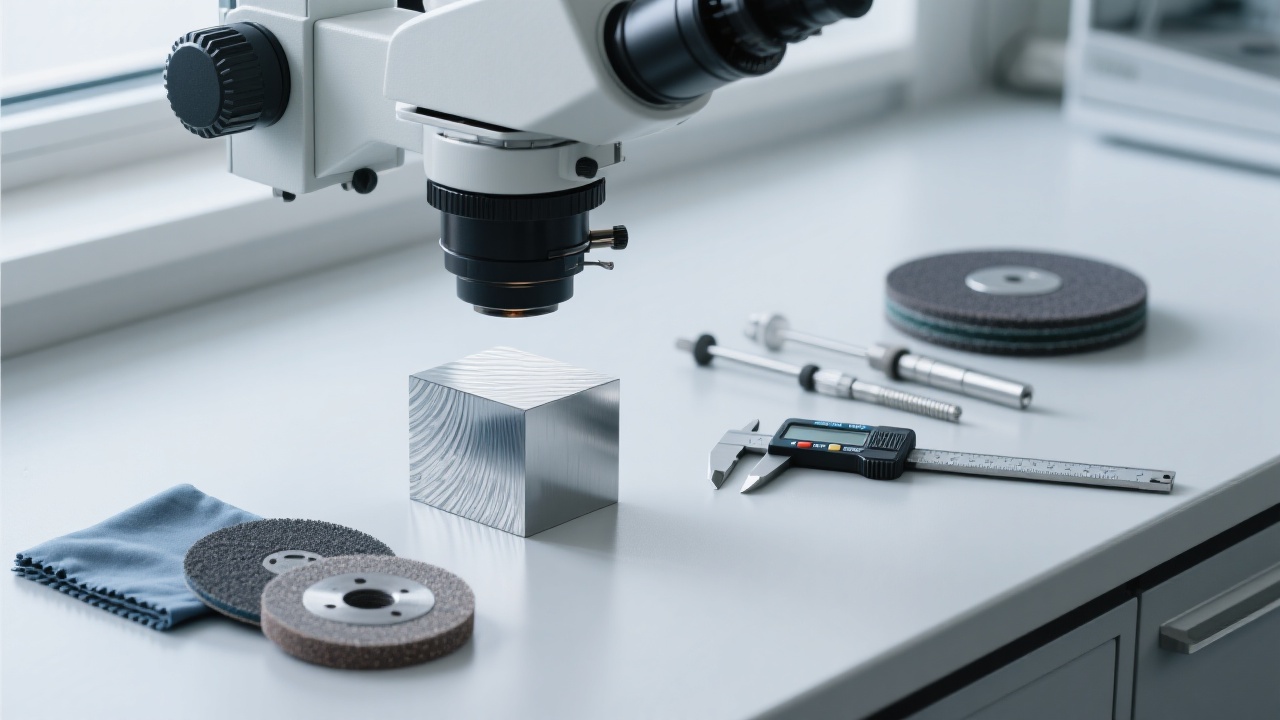
  • Adjustable cutting speed and feed for material-specific optimization
  • Robust cooling systems to control thermal effects
  • Stable sample clamping to prevent vibration and deformation
  • Compliance with international standards such as ASTM and ISO
  • User-friendly interfaces to reduce operator error and training time
Modern metallographic cutting machine features and user interface
Name *
Email *
Message*

Recommended Products

Contact us
Contact us
https://shmuker.oss-accelerate.aliyuncs.com/tmp/temporary/60ec5bd7f8d5a86c84ef79f2/60ec5bdcf8d5a86c84ef7a9a/thumb-prev.png