Essential Guide for Beginners: Common Pitfalls and Best Practices in Metallographic Sample Preparation
10 11,2025
Tutorial Guide
This article systematically addresses common mistakes in metallographic sample preparation and provides scientific methods to evaluate sample surface quality based on ISO and ASTM international standards. Key indicators of an ideal polished surface are discussed, including surface roughness, flatness, edge integrity, and false structure identification. By contrasting typical defects such as scratches, indentations, and oxidation layers with qualified samples, the article enhances visual recognition skills for materials scientists and laboratory technicians. Practical tips on using simple visual aids like magnifiers and microscopes are also shared to help non-experts conduct initial quality assessments, optimizing subsequent analysis. Furthermore, the article introduces the high-performance Polishing Machine M-1 from Laizhou Jincheng Industrial Equipment Co., supporting efficient and precise sample preparation. Readers are encouraged to engage in the interactive Q&A section to further improve metallographic preparation proficiency.

Common Pitfalls & Correct Procedures in Metallographic Sample Preparation
Metallographic sample preparation is a critical first step to obtaining reliable and reproducible microscopic analyses of metals and alloys. Yet, many new practitioners encounter recurring challenges that compromise surface quality and test accuracy. This guide systematically addresses typical errors in metallographic preparation and elucidates how to assess specimen surface quality strictly according to ISO and ASTM international standards—especially focusing on achieving an ideal polished surface.
Understanding Key Indicators of an Ideal Polished Surface
The quality of a metallographic surface is determined by several well-defined parameters, including:
- Surface Roughness (Ra): An average roughness value below 0.1 µm is recommended for high-precision analysis, minimizing light scattering and enhancing detail visibility.
- Flatness & Levelness: The surface must be uniformly flat without warping or uneven edges, ensuring consistent focus under the microscope.
- Edge Integrity: Specimen edges should be intact without cracks or chipping, which may indicate improper handling.
- False Structure Recognition: Being able to distinguish true metallurgical features from artifacts such as scratches or contamination is essential for accurate interpretation.
Spotting Common Defects and Their Impacts
Frequently encountered surface defects can severely distort microstructural analysis. Recognizing these early prevents misinterpretation:
| Defect Type |
Description |
Effect on Sample |
| Scratch Marks |
Linear abrasions caused by improper polishing grit or technique |
Obscures grain boundaries and phases, leading to false microstructural interpretation |
| Indentation & Deformation |
Imprint from excessive pressure during mounting or grinding |
Introduces pseudo-structural artifacts, complicating analysis |
| Oxide Layers |
Thin surface oxidation due to thermal or chemical exposure |
Masks true metallic microstructure, reduces etching effectiveness |
Applying International Standards for Surface Quality Assessment
ISO 15156 and ASTM E3 standards provide clear guidance on specimen preparation quality. Key checkpoints include:
- Visual Inspection: Under low magnification (10x or higher), inspect for uniformity and defect absence.
- Surface Roughness Measurement: Use profilometers to quantify roughness against threshold values.
- Etching Consistency: Confirm that the microstructure is revealed without etching artifacts.
These standards aid in objective judgment, significantly reducing operator bias and error.
Visual Aids and Practical Tips for Non-expert Operators
For laboratories and professionals without advanced microscopy tools, simple visual aids like handheld magnifiers (×10) or stereo microscopes (×20–50) dramatically improve defect detection capabilities. Here are practical observations to adopt:
- Look for consistent mirror-like reflections on the prepared surface to indicate proper polish.
- Identify and differentiate linear scratches (directional, bright lines) from actual metallurgical features (irregular patterns).
- Check edges for cracks under magnification to avoid losing crucial surface data during analysis.
- Use controlled lighting angles to detect subtle surface topography changes.
Integrating these quick checks into daily workflows improves sample quality assurance while saving time.

Leveraging High-performance Equipment for Consistent Excellence
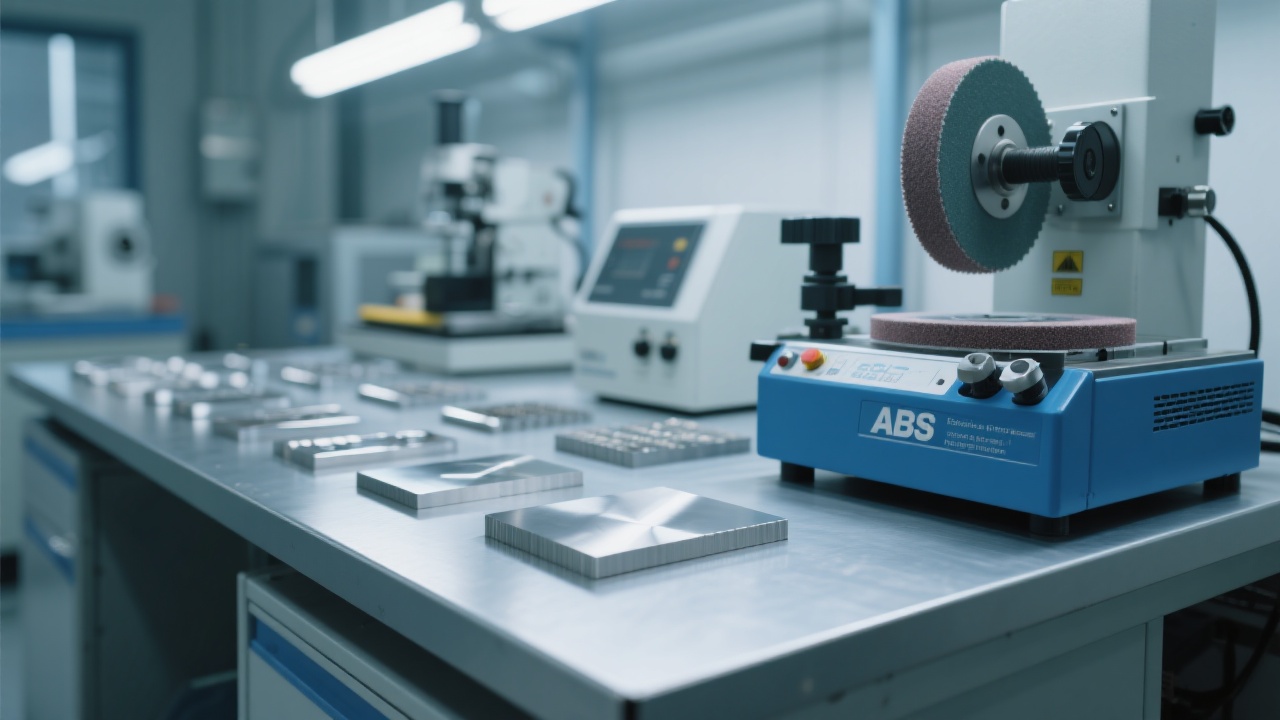
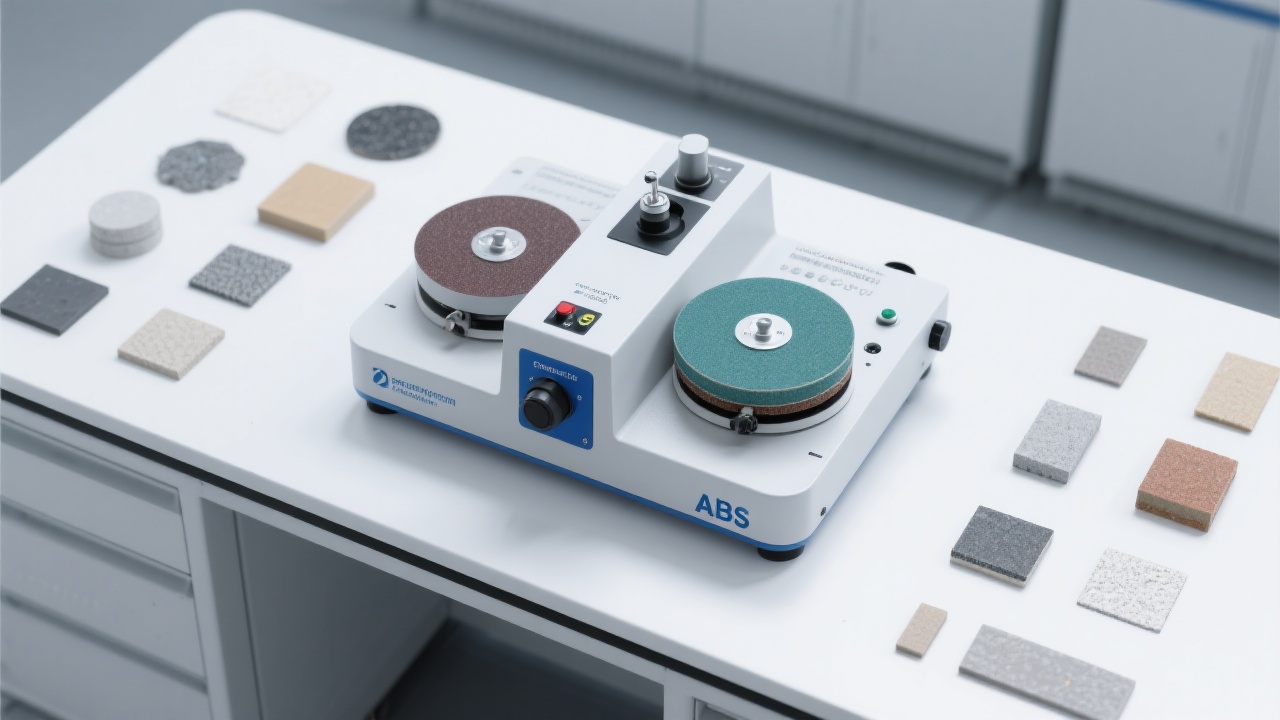
While manual polishing remains common, automating at least part of the process enhances repeatability and uniformity. The Laizhou Jincheng M-1 Manual Polisher epitomizes this balance—offering robust mechanical precision with intuitive operation.
- Precision Control: Adjustable speeds and pressure settings minimize operator-induced errors.
- Durability: Engineered with high-quality components for long-term reliability in lab environments.
- User-friendly Design: Facilitates quick learning curves for operators new to metallography.
- After-sales Support: Comprehensive maintenance guidance and responsive service team reduce downtime risks.
Adopting such technology translates to up to 30% reduced sample preparation time and improved surface consistency — vital for achieving precise quantitative metallographic analysis.

Interactive Q&A: Enhancing Metallography Skills
A dedicated Q&A section fosters user engagement and practical problem solving, addressing issues such as:
- How to adjust polishing parameters for different alloy types?
- Best methods to troubleshoot persistent surface scratches.
- Techniques to identify false microstructural features caused by contamination.
- Effective cleaning protocols post-preparation to ensure etchant uniformity.

Empower your metallographic sample prep with precision — try the Laizhou Jincheng M-1 Manual Polishing Machine and transform your lab efficiency today.

