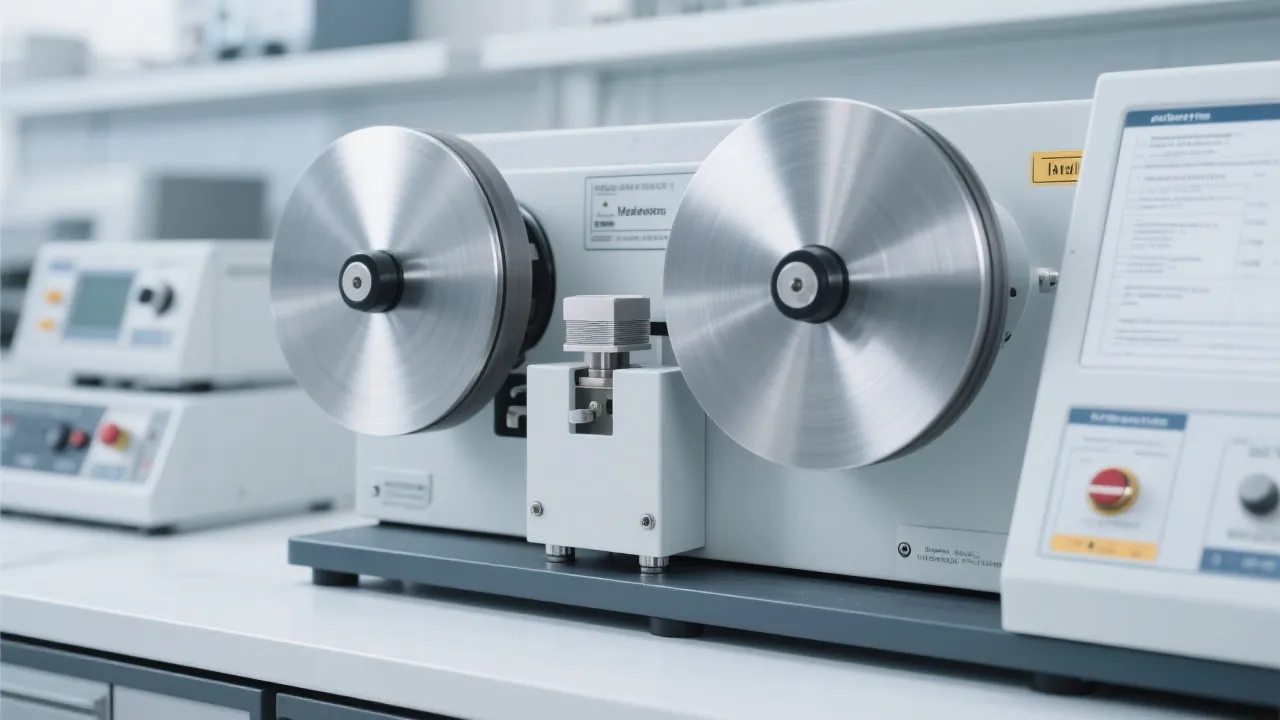
Metallographic Sample Preparation Equipment: Practical Operation Keys to Improve Surface Quality and Analysis Reliability
21 07,2026
Laizhou Jincheng Industrial Equipment Co.,Ltd
Operating Instructions
Laizhou Jincheng Industrial Equipment Co.,Ltd explains key operation and quality control points for metallographic sample preparation equipment—covering cutting, mounting, grinding, polishing and etching—to improve surface finish, reduce defects, and support reliable microstructure analysis aligned with ASTM and ISO standards.

High-quality metallographic results start long before the microscope. Surface finish, deformation control, and cleanliness during cutting, mounting, grinding, polishing, and etching directly affect microstructure interpretation and repeatability—especially in labs working toward ASTM and ISO aligned practices.
This page summarizes practical operation keys and quality checkpoints for metallographic sample preparation equipment, based on common issues observed in industrial QC, universities, and research institutes. Guidance is provided by Laizhou Jincheng Industrial Equipment Co.,Ltd (est. 2004), a supplier focusing on metallographic and hardness testing equipment and related consumables.
Why Surface Quality Matters in Metallographic Microstructure Analysis
- Scratches can mimic phase boundaries, hide fine precipitates, and bias grain size observations.
- Plastic deformation and smearing may alter true near-surface microstructure (e.g., soft metals, multiphase alloys).
- Overheating during cutting or grinding can cause microstructural changes and edge rounding.
- Contamination (embedded abrasives, debris, cross-sample carryover) reduces reliability and increases rework.
Practical rule: every preparation step must remove the damage introduced by the previous step—not add new damage that becomes harder to eliminate downstream.
Workflow Overview: Control Points from Cutting to Etching
| Step |
Main objective |
Typical defects |
What to check / adjust |
| Cutting |
Get representative specimen with minimal thermal/mechanical damage |
Burn marks, deep deformation, microcracks, edge chipping |
Cooling effectiveness, feed/load, wheel condition, secure clamping, correct orientation |
| Mounting |
Provide handling support and protect edges / porosity regions |
Gaps, pull-out, edge rounding, poor adhesion |
Specimen cleanliness, correct resin selection, alignment, curing parameters, avoid trapped air |
| Grinding |
Remove cutting/mounting damage; flatten surface |
Persistent scratches, overheating, uneven flatness |
Stepwise grit progression, adequate water, consistent pressure, rotate direction between steps |
| Polishing |
Remove fine grinding scratches; achieve mirror-like finish |
Relief, smearing, embedded abrasive, haze |
Cloth selection, abrasive size, lubricant control, cleaning between steps, avoid over-polishing |
| Etching |
Reveal microstructure without over-attacking |
Over-etching, pitting, uneven contrast, stains |
Fresh reagent, controlled time, uniform application, thorough rinse/dry, consistent procedure records |
Operational Tips by Step (Actionable and Repeatable)
1) Cutting: Reduce Heat and Mechanical Damage at the Source
- Use stable clamping to prevent vibration; vibration often creates chipping and irregular damage zones.
- Prioritize effective cooling and appropriate cutting parameters to avoid overheating that can alter near-surface microstructure.
- Inspect consumables condition (e.g., cutting wheel) and replace when loading/burning becomes evident.
- Plan the cut orientation to keep critical surfaces/edges intact for later evaluation.
Quality check: if the first grinding stage requires excessive time to “get through” damaged layer, the cutting step likely introduced too much heat or deformation.
2) Mounting: Support Edges, Porosity, and Small Specimens
- Clean and dry the specimen before mounting to improve bonding and reduce contamination.
- Select mounting approach based on specimen size, edge retention needs, and downstream polishing requirements.
- Avoid trapped air (a common cause of gaps and pull-out), especially in porous or rough specimens.
- Keep a consistent orientation so that comparisons between samples remain meaningful.
3) Grinding: Flatness First, Then Scratch Control
- Follow a stepwise grit progression; jumping grits can leave deep scratches that persist into polishing.
- Use sufficient water/coolant to minimize heat and prevent debris from re-scratching the surface.
- Apply consistent, moderate pressure; excessive force increases deformation and shortens consumable life.
- Between steps, rinse thoroughly to reduce cross-contamination by larger abrasive particles.
Record the time/pressure settings that work for each material family (steel, cast iron, aluminum, copper alloys, etc.)—repeatability is often a documentation problem, not an equipment problem.
4) Polishing: Control Relief, Smearing, and Cleanliness
- Match polishing cloth and abrasive to material hardness and microstructure; wrong pairing often causes relief or smearing.
- Use controlled lubricant flow—too little increases heat and dragging; too much can reduce effectiveness and create haze.
- Clean specimen, holder, and workspace between polishing stages to avoid embedded coarse particles.
- Stop once scratches are removed; over-polishing can round edges and blur phase contrast after etching.
5) Etching: Reveal Microstructure with Controlled, Documented Conditions
- Use fresh, correctly prepared etchant and a consistent application method to avoid uneven contrast.
- Control etching time and intensity; when in doubt, etch lightly and repeat rather than over-etch once.
- Rinse and dry promptly to prevent stains and water marks that interfere with imaging.
- Keep procedure records to support traceability in QC and research environments.
Common Defects and How to Troubleshoot Them
Persistent scratches after polishing
- Cause: insufficient removal at a prior grit or cross-contamination.
- Adjust: extend the previous grinding step; improve rinsing/cleaning; verify abrasive sizes and cloth condition.
Edge rounding / loss of edge detail
- Cause: soft mounting support, excessive pressure, over-polishing.
- Adjust: improve mounting edge support; reduce pressure; shorten final polish; choose cloth that improves edge retention.
Smearing on soft or multiphase materials
- Cause: inappropriate cloth/abrasive, insufficient lubrication, too much heat.
- Adjust: optimize cloth/abrasive combination; ensure cooling/lubrication; reduce load and improve step transitions.
Stains or uneven etch contrast
- Cause: inconsistent etchant condition/time; inadequate rinsing/drying; surface not fully polished.
- Adjust: standardize etch procedure; verify mirror finish before etch; rinse and dry immediately and consistently.
Quality Control Habits that Support ASTM / ISO-Aligned Metallography
- Standardize consumables: keep consistent abrasive grades, cloth types, and lubricants per material group.
- Control cleanliness: dedicate cleaning steps and separate areas for coarse vs fine stages to minimize contamination.
- Use repeatable parameters: document key settings (time, pressure, rotation, coolant flow) as internal work instructions.
- Verify before moving on: confirm scratches from the previous stage are fully removed under appropriate inspection.
- Traceability: label specimens and retain preparation notes for audits, research repeatability, and QC reporting.
Equipment Fit: Manual vs Computerized Preparation Setups
Manual preparation equipment
Suitable for teaching labs, basic material checks, and organizations that prefer hands-on control.
- Intuitive operation for routine workflows
- Flexible adjustments by operator experience
Computerized / automated preparation solutions
Suitable for higher-throughput QC and R&D where repeatability and documented parameters are prioritized.
- Automation supports consistent preparation results
- High-resolution optical imaging can help confirm surface condition
- Workflow design can better align with internal controls referencing ASTM/ISO practices
Note: specific parameter selection should be validated per material and application; ASTM/ISO referenced here indicates alignment with recognized metallography practices rather than a claim of universal certification for every configuration.
How Laizhou Jincheng Supports Your Metallography Workflow
Laizhou Jincheng Industrial Equipment Co.,Ltd provides complete metallographic preparation equipment and consumables solutions, covering manual systems and computerized preparation configurations. Our equipment is used across mechanical manufacturing, metallurgy, chemical, power industries, universities, and research institutes, with B2B delivery to markets including Russia, Southeast Asia, and Europe.
- Application-oriented guidance for cutting–mounting–grinding–polishing–etching sequences
- Suggestions to reduce preparation defects (scratches, deformation, overheating, contamination)
- Support for building more consistent QC routines and internal documentation
Talk to Us About Your Material and Target Standard
If you share your material type, specimen size, throughput expectations, and the internal/industry practices you follow (e.g., ASTM or ISO-related metallography methods), we can help map a preparation route and equipment configuration suitable for your lab.
Best to provide: material grade, hardness range, required microstructure features, and whether edge retention is critical.
Preparation goal: consistent surface quality that supports reliable metallographic microstructure analysis and QC traceability.

-1.jpg?x-oss-process=image/resize,m_fill,h_600,w_600/format,webp)


Hardness-Tester7MHXZD-1000A-1.jpg?x-oss-process=image/resize,m_fill,h_600,w_600/format,webp)