Metallographic sample preparation should produce a surface that reliably represents the true microstructure. When preparation becomes unstable—showing inconsistent scratches, deformation, pull-out, staining, or unclear boundaries—results can vary from operator to operator and from batch to batch. This page explains common causes across cutting, mounting, grinding/polishing, and etching, and provides practical ways to trace visible defects back to their most likely sources.
Who this helps: QC engineers, materials labs, universities, and metallography technicians who need consistent microstructure results and a more standardized workflow.
Instability often appears as repeatable symptoms—but the root cause may originate earlier in the workflow. Typical warning signs include:
Use the checklist below to connect observed defects to the most likely process step. The goal is not to “guess,” but to narrow the diagnosis with observable clues.
| Process step | Common visible issues | Likely root causes | How to identify / verify |
|---|---|---|---|
| Cutting | Burn marks, microcracks, heavy deformation, embedded debris | Excess heat input, unsuitable blade, inadequate cooling, too high feed/speed | Check whether deformation persists even after coarse grinding; compare multiple cut coupons; observe near-cut surface for heat tint or cracking |
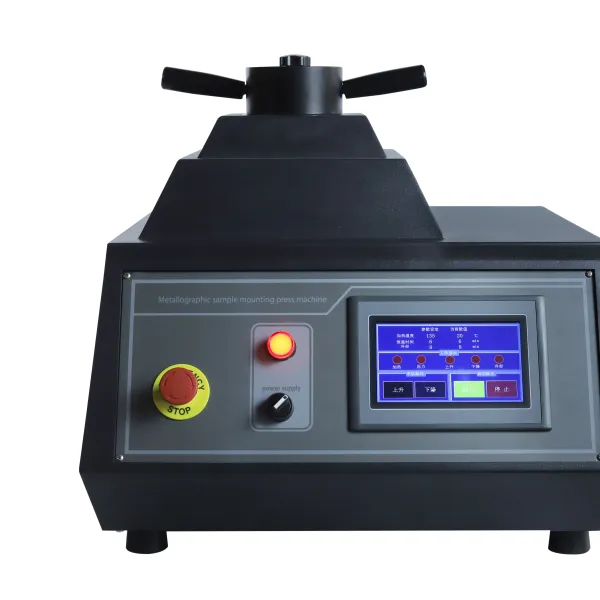
| Mounting | Edge chipping, gaps, specimen tilt, voids around sample | Poor adhesion, trapped air, improper pressure/temperature, incorrect alignment, resin shrinkage | Inspect the resin-specimen interface under low magnification; look for rings/voids; verify sample sits flat on stage and contacts paper evenly |
| Grinding | Deep scratches that “stay,” uneven flatness, edge rounding | Skipping grit sizes, worn paper, contaminated abrasives, excessive force, inadequate lubrication | Rotate specimen 90° between steps to track scratch direction; confirm prior-step scratches are fully removed before moving on |
| Polishing | Smearing, pull-out, orange peel texture, haze, relief | Wrong cloth/abrasive pairing, over-polishing, insufficient cleaning between steps, incorrect slurry distribution, too high load | Inspect at each step under the microscope; if pull-out increases with finer steps, suspect cloth compliance or particle retention/contamination |
| Etching | Over-etched grain boundaries, weak contrast, staining, patchy response | Incorrect etchant selection, time control issues, uneven surface condition, inadequate rinsing/drying, residual polishing film | Run a timed trial on a sacrificial sample; compare fresh vs. aged etchant; check whether non-etched areas coincide with surface haze or residues |
Practical rule: if a defect is visible after polishing, it may have been created earlier (cutting/mounting/grinding) and only revealed later. Standardize step transitions and verification checks to prevent “carrying defects forward.”
Many preparation issues are easiest to diagnose when you can observe consistently and capture comparable images throughout the workflow. Stable illumination, clear optics, and repeatable stage movement help technicians distinguish true microstructural features from preparation artifacts.
The 4XC-W inverted metallographic microscope by Laizhou Jincheng Industrial Equipment Co.,Ltd is designed for metallographic observation and documentation during evaluation. It uses quality optical components and a finite optical system with chromatic aberration correction to support clear, accurate images. A binocular viewing head with flexible angle adjustment and a double-layer mechanical stage improve operating convenience during routine inspection.
For troubleshooting, consider capturing a consistent set of images at fixed magnifications after grinding, after final polishing, and after etching. This creates a visual trail that helps pinpoint when the defect first appears.
Founded in 2004, Laizhou Jincheng Industrial Equipment Co.,Ltd focuses on metallographic testing and hardness testing, providing equipment and consumables solutions for B2B customers in manufacturing, universities, and research environments. For users building more standardized metallography workflows, we can support with pre-sales consultation, technical guidance, and service for equipment such as the 4XC-W inverted metallographic microscope.
If you describe your material type, preparation route (cutting/mounting/grinding-polishing/etching), and the exact defect symptoms, it becomes much easier to narrow down the root cause and recommend a more stable preparation checklist.








-1.jpg?x-oss-process=image/resize,h_1200,m_lfit/format,webp)