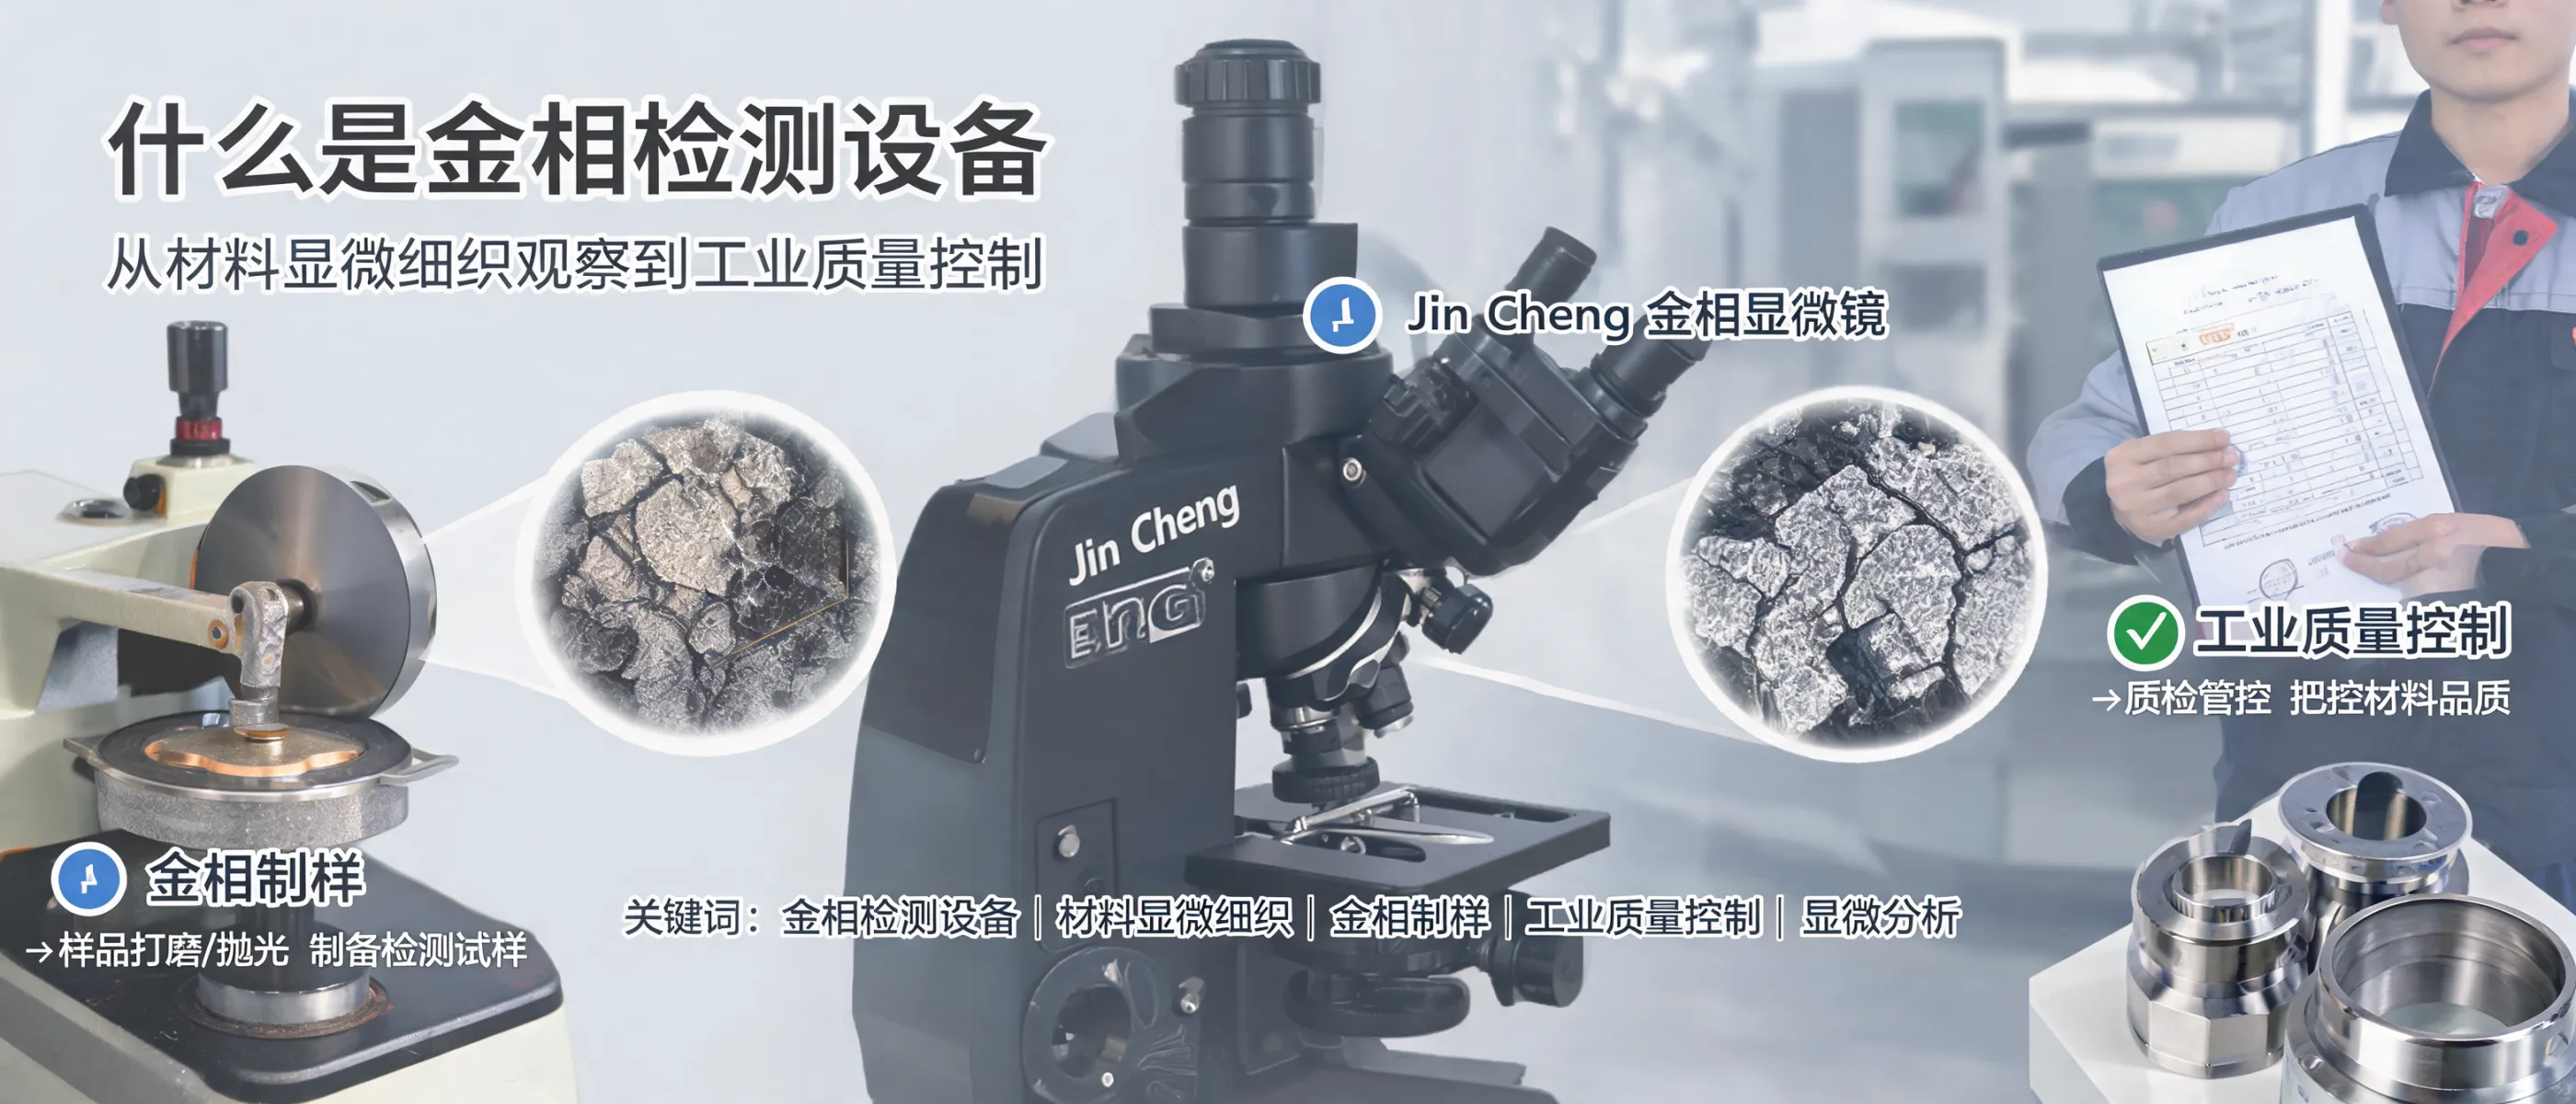
Metallographic Sample Preparation Workflow: Standard Steps from Cutting to Polishing

09 07,2026
Laizhou Jincheng Industrial Equipment Co.,Ltd
Industry Guide
Laizhou Jincheng Industrial Equipment Co.,Ltd explains a standard metallographic sample preparation workflow—from cutting and mounting to grinding and polishing—highlighting key control points to improve consistency and reliability of metallographic results for technicians and lab managers.
Metallographic sample preparation steps showing cutting, mounting, grinding, and polishing in a laboratory workflow

Consistent metallographic results start long before the microscope. A repeatable metallographic sample preparation workflow—from cutting and mounting to grinding and polishing—reduces preparation-induced artifacts and improves inspection reliability.

This guide, prepared by Laizhou Jincheng Industrial Equipment Co.,Ltd, summarizes standard lab steps and practical control points for metallography technicians and laboratory managers who want stable, repeatable preparation quality aligned with common ASTM / ISO laboratory practice.

Where this workflow fits in metallographic inspection

Goal

Produce a flat, scratch-free, deformation-minimized surface that reveals true microstructure after etching and observation.

Common risk

Inconsistent parameters (force, time, abrasive sequence, cooling) can introduce burning, pull-out, smearing, edge rounding, or residual scratches that mislead interpretation.

Best practice

Standardize the workflow, document the recipe by material family, and verify at each stage with quick surface checks before moving on.

Standard metallographic sample preparation steps (cutting → polishing)

Use this sequence as a baseline. Your final recipe should reflect material, hardness, coating/heat treatment, and the target inspection (grain size, inclusion rating, case depth, failure analysis, etc.).

1) Sectioning / Cutting

  • Purpose: obtain a representative specimen while minimizing heat-affected zones and mechanical damage.
  • Key control points: appropriate wheel type for the material, stable feed, sufficient coolant flow, secure clamping to prevent vibration.
  • Quick check: look for discoloration, heavy burrs, or deformation near the cut that could propagate into later steps.

2) Mounting (hot or cold)

  • Purpose: protect edges, enable safe handling, and keep orientation consistent.
  • Key control points: choose mounting method based on temperature sensitivity, porosity, and edge retention needs; avoid trapped bubbles and gaps.
  • Quick check: confirm the specimen is fully supported and the surface is roughly perpendicular to the mounting face.

3) Planar Grinding (coarse)

  • Purpose: remove saw damage and quickly establish a flat plane.
  • Key control points: consistent pressure, adequate cooling/water, avoid over-grinding that increases deformation depth.
  • Quick check: ensure all cutting marks are removed across the entire surface before moving to finer abrasives.

4) Fine Grinding (step-down abrasives)

  • Purpose: progressively reduce scratch depth.
  • Key control points: do not skip grit steps; rotate the specimen orientation between steps to identify remaining scratches.
  • Quick check: proceed only when scratches from the previous step are uniformly removed.

5) Polishing (pre-polish → final polish)

  • Purpose: eliminate fine scratches and minimize surface deformation for accurate microstructural revelation.
  • Key control points: correct cloth + suspension combination; stable dosing; avoid drying, contamination, and excessive pressure that can cause relief, pull-out, or smearing.
  • Quick check: bright, uniform surface with no drag lines; edges remain intact (especially important for coatings and case layers).

Control points that most often affect consistency

Consumable management

Keep abrasive papers, cloths, and suspensions organized and protected from moisture and cross-contamination. Replace consumables on a defined schedule when scratches or artifacts reappear.

Force, time, and speed discipline

Consistency improves when parameters are repeatable. Many labs move from manual habits to defined settings (or automated programs) to reduce operator-to-operator variation.

Cooling & cleanliness

Adequate coolant during cutting and controlled lubrication during grinding/polishing help avoid thermal damage and debris embedding. Clean the specimen between steps to prevent grit carry-over.

Edge retention & flatness

If you evaluate coatings, surface treatments, or case depth, prioritize mounting quality and controlled polishing to reduce edge rounding and false layer thickness readings.

Workflow selection: manual vs computerized preparation

Decision factor Manual preparation (typical fit) Computerized/automated preparation (typical fit)
Sample volume Low to medium; flexible, quick changeover Medium to high; repeated batches benefit from programs
Operator dependency Higher; results vary with experience Lower; parameters can be standardized and repeated
Training & teaching Good for fundamentals and hands-on learning Good for SOP-driven labs and repeatability targets
Quality control needs Works when recipes are documented and supervision is strong Supports stable QC through controlled, repeatable routines
Typical outcome focus Flexibility and cost-effective setup Consistency and reduced rework from preparation errors

Laizhou Jincheng provides both intuitive manual metallographic preparation equipment for teaching and foundational analysis, and computerized preparation solutions designed for repeatable workflows and controlled process parameters.

Practical checklist before you release a specimen to microscopy

  • Cut surface shows no obvious overheating or excessive deformation near the region of interest.
  • Mounting provides full support (especially at edges) and preserves specimen orientation/ID.
  • After each grinding step, previous scratches are fully removed across the entire face.
  • Polished surface is uniform; no embedded debris, pull-out, smearing, or edge rounding that could bias interpretation.
  • Cleaning between steps prevents grit carry-over; consumables are stored and used consistently.

How Laizhou Jincheng supports metallographic preparation workflows

Founded in 2004, Laizhou Jincheng Industrial Equipment Co.,Ltd focuses on metallographic testing and hardness testing solutions for B2B users in manufacturing, metallurgy, universities, and research laboratories. We supply integrated equipment and consumables to help labs build stable preparation routines and align with common international standards used in metallography.

For technicians

Clear operating logic, step-by-step preparation, and practical control points to reduce rework and artifacts.

For lab managers

Standardized workflows that can be documented as SOPs and repeated across operators and shifts.

For procurement & projects

Complete solution planning for metallographic sample preparation, from basic manual setups to computerized preparation lines.

If you share your material type, target standard (ASTM/ISO), and inspection goal, the workflow can be translated into a clear preparation recipe—abrasive sequence, mounting choice, and polishing strategy—designed for repeatable metallographic results.

Name *
Email *
Message*

Recommended Products

Popular articles
Recommended Reading

Related Reading

Contact us
Contact us
https://shmuker.oss-accelerate.aliyuncs.com/tmp/temporary/60ec5bd7f8d5a86c84ef79f2/60ec5bdcf8d5a86c84ef7a9a/thumb-prev.png