How to Distinguish Metallographic Preparation Scratches from Material Cracks
30 10,2026
Laizhou Jincheng Industrial Equipment Co.,Ltd
[Brand Name] explains how to distinguish grinding and polishing scratches from material cracks in metallographic specimens and assess preparation quality.

A dark line on a metallographic specimen is not automatically a crack. Grinding and polishing can leave scratches that resemble discontinuities, while preparation may also open or obscure a real crack. [Brand Name] recommends assessing the feature’s appearance alongside the preparation history and the material’s microstructure before reaching a conclusion.
Start with the shape and context
Surface appearance provides useful clues, but no single visual feature reliably proves whether a line is a scratch or a crack.
- Preparation scratches often appear as relatively straight, elongated lines. Several may run in a similar direction, reflecting a grinding or polishing step. Their appearance can change or disappear when the surface is properly prepared again.
- Material cracks may follow an irregular path, branch, or intersect microstructural features. They can remain visible after controlled re-polishing, although their appearance may change as material is removed.
- Ambiguous features require additional checks. A scratch can be irregular, and a crack can appear relatively straight. Pull-out, relief and other preparation artifacts can also resemble discontinuities.
A practical examination sequence
- Examine the wider surface. Look for groups of similarly oriented lines and note whether the suspected feature is isolated or part of a broader scratch pattern. Record its location and orientation.
- Inspect at suitable magnifications. Begin with a wider view, then examine the feature and surrounding microstructure more closely. Look for branching, changes in direction and connections to other features; treat these as clues rather than proof.
- Review the preparation history. Check whether each grinding stage removed the damage from the preceding stage, whether polishing materials were contaminated, and whether pressure or cleaning practices could have introduced artifacts.
- Re-polish in a controlled way. If appropriate, clean and re-polish the specimen, then return to the recorded location. A line that disappears is consistent with a surface artifact; a feature that persists warrants further investigation. Re-polishing removes material, so neither outcome alone establishes the feature’s origin.
- Use further examination when needed. Depending on the material and investigation, a carefully prepared additional section or another suitable examination method may help. Document the observations and limitations instead of assigning a definitive cause from one image.
Check preparation quality before interpreting a defect
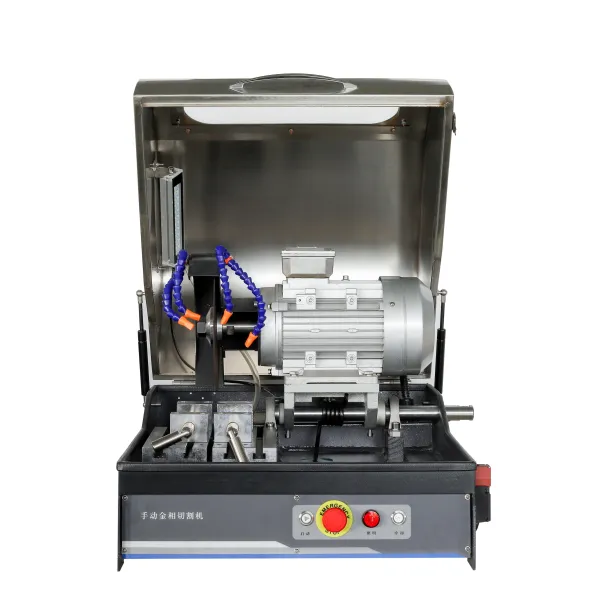
Cutting, mounting, grinding and polishing all affect the final surface. Avoid cutting conditions that visibly damage the area of interest; support specimens where mounting is needed; and remove damage from each grinding stage before proceeding. Clean the specimen and equipment between stages to reduce abrasive carryover. Select consumables and preparation conditions for the material and specimen, and check for scratches, deformation, pull-out and edge damage before interpreting the microstructure.
When the distinction remains uncertain
Etching can help reveal the surrounding microstructure, but it can also change the appearance of surface features. Compare the same area before and after etching when appropriate, and avoid treating increased contrast as proof of a crack. If the result affects an important quality decision, retain images and preparation records and seek review by qualified metallography personnel using the applicable test requirements.
A reliable assessment combines surface inspection, controlled preparation and evidence from the specimen. Documenting uncertainty is preferable to labeling an ambiguous line as either a manufacturing defect or a preparation artifact without sufficient support.