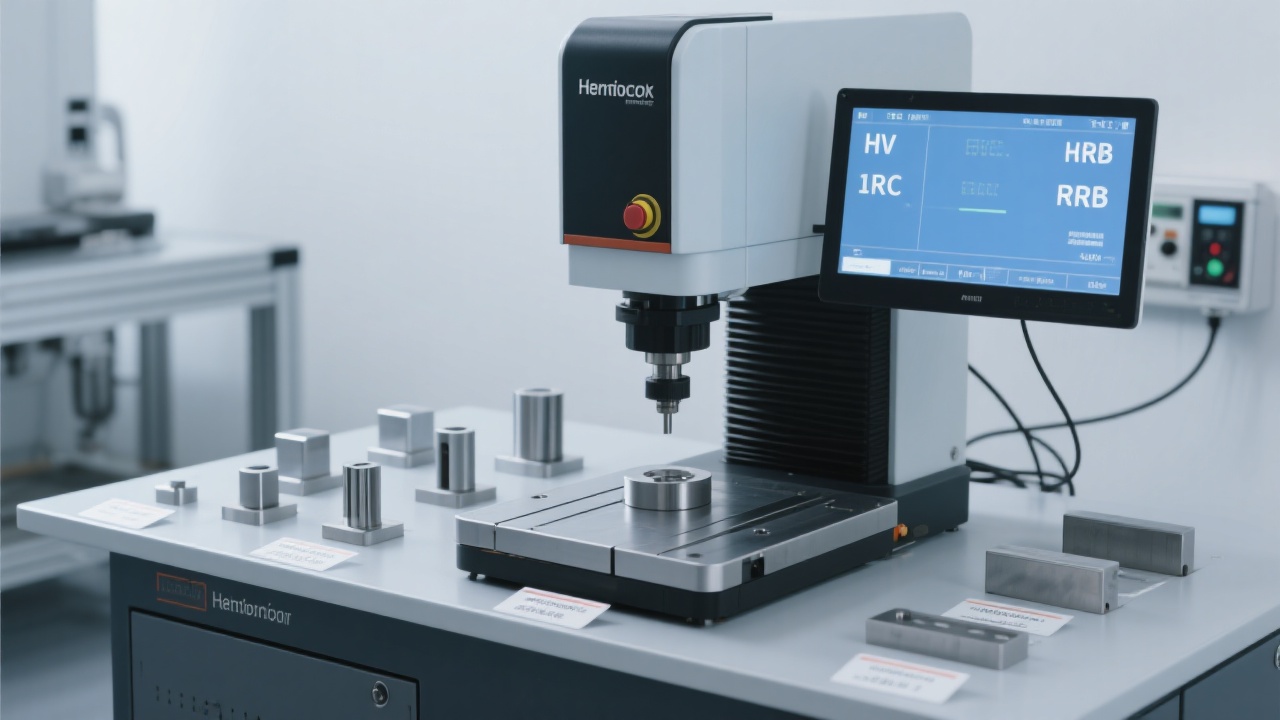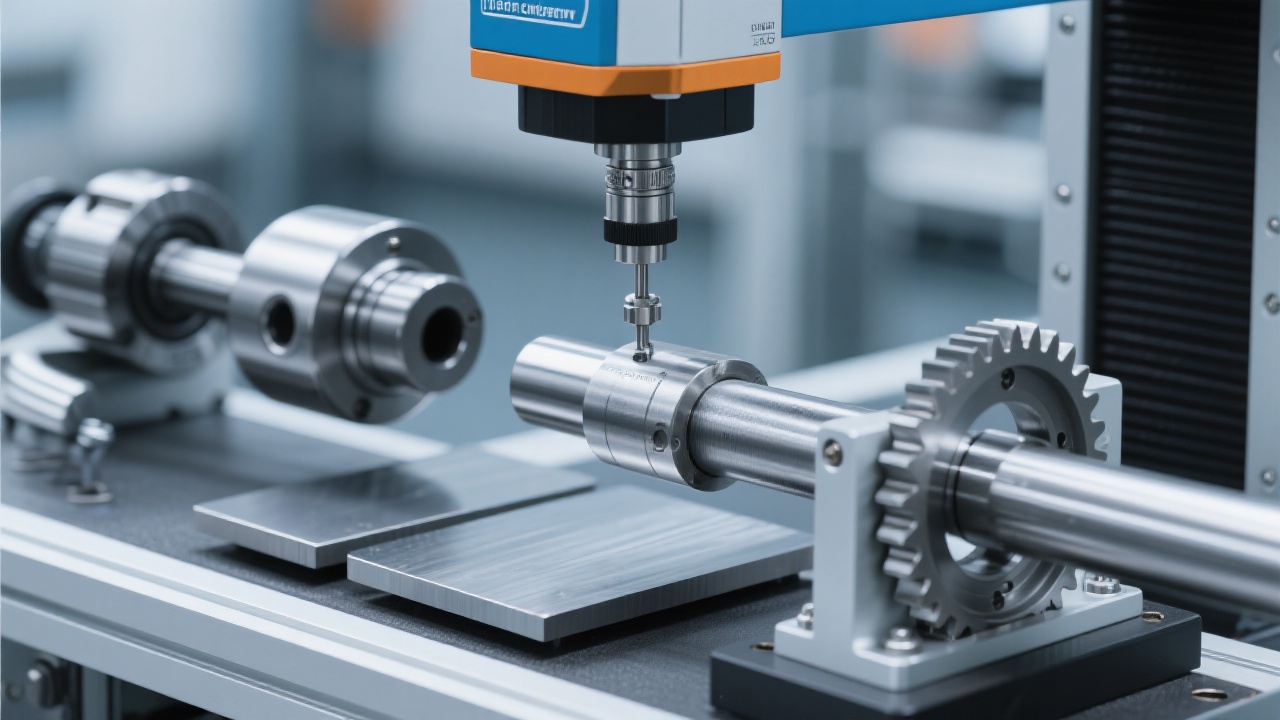
Are you struggling with poor reproducibility in metallographic specimen preparation? You're not alone. Many laboratory personnel and quality engineers face this challenge daily. Inconsistent results can lead to unreliable data, affecting the accuracy of research and quality control. Let's explore the key factors that impact reproducibility and how you can overcome them.
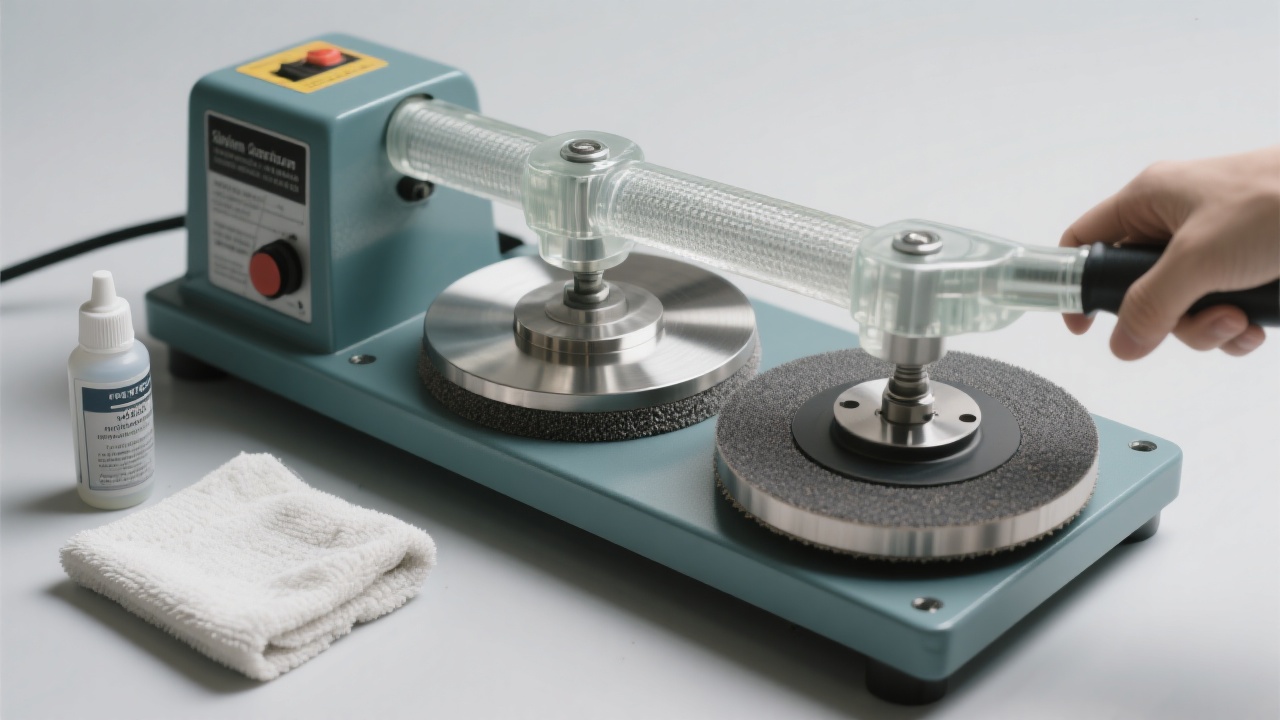
Have you ever wondered why your samples show significant surface differences? This is often due to improper preparation techniques. The reproducibility of metallographic specimen preparation is crucial for obtaining consistent and reliable results in materials science research and quality control. In this article, we'll share three practical techniques to help you achieve standardized grinding and polishing, and introduce how the MP - 2S Double - Disc Manual Grinding and Polishing Machine can assist you.

One of the primary factors affecting reproducibility is the way you fix the specimen and apply pressure during grinding and polishing. Using a standardized fixture can ensure that the specimen is held firmly and uniformly, reducing the risk of movement and uneven wear. According to industry research, specimens fixed with non - standardized fixtures have a 30% higher chance of producing inconsistent surface finishes compared to those fixed with proper fixtures.
When applying pressure, it's essential to use a consistent and appropriate force. Too much pressure can cause over - grinding and damage to the specimen, while too little pressure may result in incomplete grinding. The MP - 2S supports a stable pressure application system, which can help you maintain a consistent pressure throughout the process, improving the reproducibility of your results.
Different materials require different grinding speeds. A variable - speed control system is essential for achieving optimal grinding results. The MP - 2S is equipped with an optimized variable - speed system that can precisely match the characteristics of various metal materials. For example, when grinding hard materials like tungsten carbide, a lower speed (around 100 - 150 RPM) is recommended to prevent excessive heat generation and damage to the specimen. In contrast, softer materials like aluminum can be ground at a higher speed (around 200 - 250 RPM) for better efficiency.
Let's look at a case study: A laboratory was struggling with inconsistent grinding results for a batch of steel samples. After switching to the MP - 2S with its precise variable - speed control, the consistency of the sample surfaces improved by 40%, and the overall preparation time was reduced by 20%.

Regular calibration of your grinding and polishing equipment is crucial for maintaining accuracy and reproducibility. Over time, the performance of the equipment may degrade due to wear and tear, which can lead to inconsistent results. A calibration plan should be established, and the equipment should be calibrated at least once every three months.
Here is a simple calibration plan template:
Many beginners make some common mistakes in metallographic specimen preparation. Here is a comparison table of these mistakes and improvement suggestions:
| Mistakes | Improvement Suggestions |
|---|---|
| Relying on a single grinding disc | Use a series of grinding discs with different grit sizes for a more comprehensive grinding process. |
| Ignoring the cleaning process | Clean the specimen and the equipment thoroughly after each step to prevent contamination. |

As stated in the ASTM E3 standard, "The preparation of metallographic specimens is a critical step in the accurate determination of the microstructure of metals and alloys." Standardized preparation techniques are essential for meeting these requirements.
By mastering these techniques and avoiding common mistakes, you can transform your metallographic specimen preparation from an experience - driven process to a data - driven quality management approach. The MP - 2S Double - Disc Manual Grinding and Polishing Machine is your reliable partner in achieving this goal.