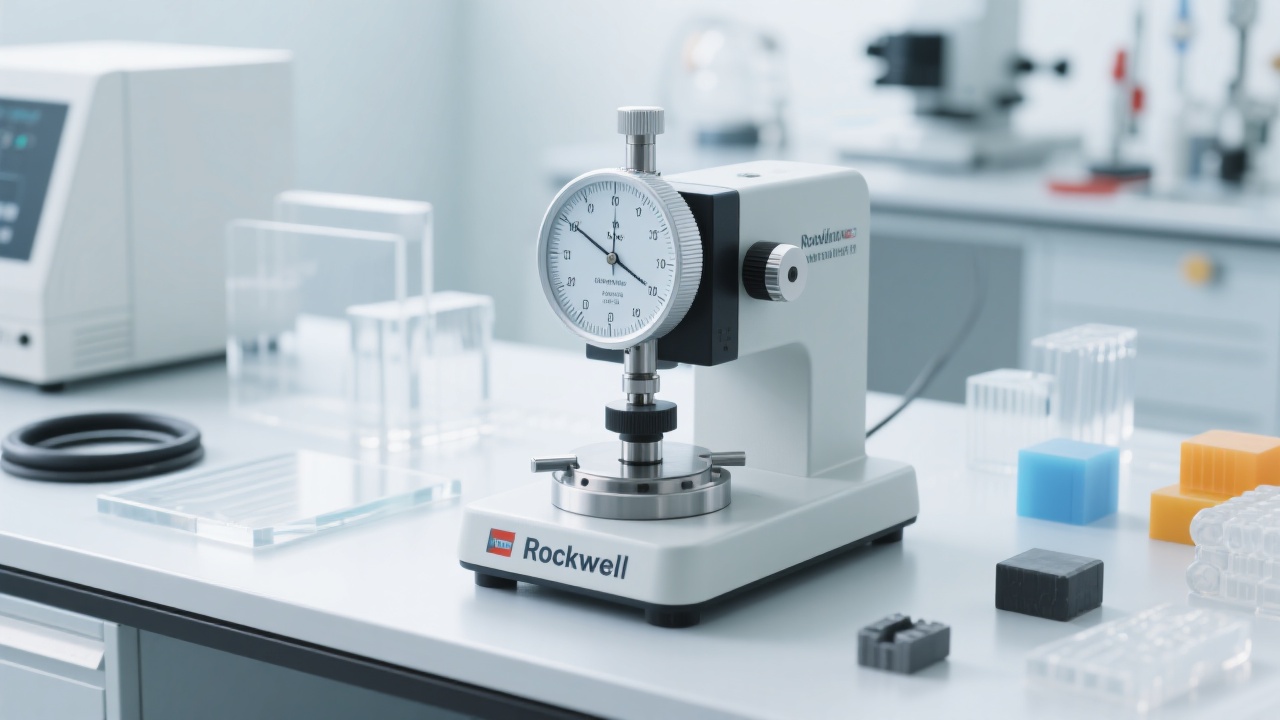
In the field of materials science, accurately measuring the hardness of non-metallic materials, especially composites, is crucial for both scientific research and industrial quality control. However, non-metallic materials present unique challenges in hardness testing, such as complex indentation deformation, strict surface flatness requirements, and high sensitivity to load selection.
The ISO 6508 and ASTM E18 standards provide a framework for conducting Rockwell hardness tests. By adhering to these standards, testers can ensure the reliability and comparability of test results. Let's first delve into the technical challenges faced in non-metallic material hardness testing.
One of the primary challenges is the complex indentation deformation mechanism. Unlike metals, non-metallic materials may exhibit viscoelastic behavior during indentation, which can lead to time-dependent deformation. This means that the indentation size may continue to change even after the load is removed, making it difficult to obtain accurate hardness values.
Surface flatness is another critical factor. A rough or uneven surface can cause inconsistent indentation results. For example, a deviation of just 0.1 mm in surface flatness can lead to a variation of up to 5% in hardness readings. Therefore, proper sample preparation is essential to ensure a smooth and flat testing surface.
Load selection is also highly sensitive. Different non-metallic materials require different loads to achieve accurate hardness measurements. Using an inappropriate load can result in either an over - or under - estimation of hardness. For instance, applying too high a load may cause excessive deformation and damage to the sample, while too low a load may not produce a clear indentation.

To address these challenges, we can optimize the test parameters according to the ISO 6508 and ASTM E18 standards. The choice of indenter type is crucial. For composites, a spherical or conical indenter may be more suitable depending on the material's properties. A spherical indenter is often used for softer materials, while a conical indenter is preferred for harder composites.
Adjusting the dwell time is also important. The dwell time refers to the duration for which the load is applied. According to the standards, for most non-metallic materials, a dwell time of 15 - 30 seconds is recommended. This allows the material to reach a stable deformation state and ensures accurate hardness measurement.
Proper sample preparation is a key step. Samples should be cut, ground, and polished to achieve a smooth and flat surface. The thickness of the sample should also be within a certain range. For example, for most composites, a sample thickness of at least 6 mm is recommended to avoid the influence of the substrate on the hardness measurement.

In addition to parameter optimization, intelligent data processing systems can significantly improve the efficiency and accuracy of hardness testing. These systems use automation to measure the indentation size and perform multi - point statistical analysis.
Automated measurement reduces human error. By using optical or electronic sensors, the system can accurately measure the indentation diameter or depth, with an accuracy of up to 0.01 mm. Multi - point statistical analysis helps to eliminate outliers and provides a more representative hardness value. For example, by taking measurements at 10 different points on the sample surface and calculating the average, the measurement error can be reduced by up to 30%.
The intelligent data processing system also allows for real - time data monitoring and analysis. Testers can quickly identify any abnormal results and take corrective actions, such as adjusting the test parameters or re - preparing the sample.

In the aerospace, automotive, and electronics industries, accurate hardness testing of composites is essential for ensuring product quality and performance. For example, in aerospace applications, composites with the correct hardness are crucial for maintaining the structural integrity of aircraft components.
If you are involved in non - metallic material hardness testing and want to learn more about the Rockwell test parameter configuration guide suitable for your materials, please visit our technical document center.