Metallographic Sample Scratches: 3-Step Troubleshooting Guide + LMP-4 Auto Grinding/Polishing Parameter Tips
14 02,2026
Application Tips
Surface scratches on metallographic specimens often come from a small number of controllable causes—abrasive carryover between stages, incorrect pressure/rotation settings, or inconsistent loading during grinding and polishing. This practical, technician-friendly guide walks you through a clear 3-step troubleshooting workflow: (1) verify start-up readiness and consumable condition, (2) audit each process stage from pre-grinding to final polishing with disciplined cleaning and stage transitions, and (3) fine-tune key machine parameters to stabilize removal rate and surface quality. Using the Laizhou Jincheng LMP-4 automatic grinding and polishing machine as a reference, the article explains LCD touch-screen setup, stepless pressure adjustment, speed control, and the role of single-point loading in reducing scratches, deformation, and uneven polish. It also includes a real-world mistake-and-fix case, a quick parameter flow chart with example data ranges for different materials, and essential maintenance/check calibration reminders—helping you improve preparation consistency, reduce rework, and protect metallographic analysis accuracy. A short self-check quiz and a call-to-action invite you to download a process sheet and learn more about LMP-4 capabilities.

Metallographic Sample Scratches: What You’re Seeing (and Why It Matters)
When scratches show up on a metallographic specimen, it’s rarely “just cosmetic.” They can mask fine microstructural features, distort grain boundary interpretation, and force you into repeat preparation. In many labs, rework adds 20–40 minutes per sample once you include repolishing, cleaning, re-etching, and re-imaging. In production QA, that delay can ripple into batch release decisions.
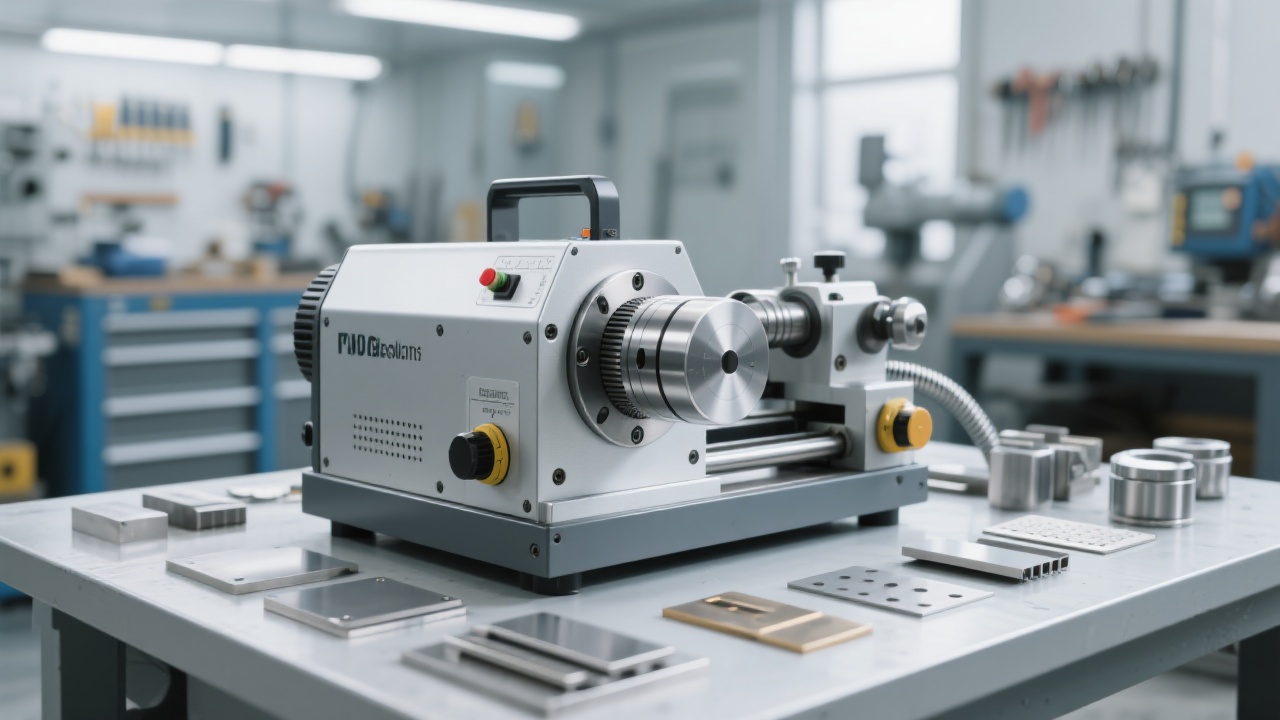
Below is a practical, 3-step troubleshoot-and-fix workflow you can run immediately—plus parameter-setting tips for the Laizhou Jincheng LMP-4 automatic grinding & polishing machine (LCD touch control, stepless pressure, and speed control) to help you stabilize results across operators.
Step 1: Identify the Scratch “Signature” (Fast Diagnosis in 2 Minutes)
You’ll solve scratches faster when you classify them by pattern. Use a quick check under your microscope at 50×–200× before changing consumables or machine settings.
Common scratch patterns and likely causes
| Scratch pattern |
What it usually means |
Quick confirmation |
| Deep, long, directional lines |
A coarse abrasive particle is still present (carryover) or the pre-grind is incomplete |
Rotate the specimen 90° at next stage: if lines keep direction, they’re from the new stage; if not, they’re carryover |
| Random “comet tail” marks |
Contamination on cloth, slurry agglomeration, or dirty rinse water |
Check cloth surface with a clean wipe; inspect slurry bottle nozzle for dried particles |
| Fine uniform haze with micro-scratches |
Too high pressure/speed for current step or cloth not matched to abrasive size |
Reduce pressure by 20–30% and extend time; haze should drop without new deep lines |
| Edge scratches / edge rounding |
Uneven loading, poor mounting, or excessive time on soft cloth |
Examine edges at 100×; if edges look “washed,” adjust load distribution and step order |
Step 2: Fix the Root Cause (Process Before Parameters)
Scratches are most often caused by stage carryover, incomplete removal of prior damage, or contamination. Before you tweak speed and pressure, make sure your workflow is mechanically clean and logically staged.
A. Kill carryover: the most overlooked scratch source
If you move from 320/600 grit grinding to polishing without removing all prior scratches, you lock damage into the surface. A practical rule: don’t advance to the next stage until 100% of the previous stage’s lines are gone under your inspection magnification. Between stages, rinse with running water (or clean coolant), then use fresh ethanol/isopropyl rinse and dry with oil-free air. Replace towels that shed fibers.
B. Match cloth + abrasive + material hardness
For harder alloys (tool steel, Ni-based), a firmer cloth and controlled load reduce pullout and chatter marks. For softer metals (Al, Cu), a softer cloth can help—but only if pressure is reduced to avoid smearing and edge rounding. If you see “micro-tearing,” reduce pressure first; if you see persistent deep lines, step back one grit and re-level.
C. Cleanliness is a parameter
A single dried diamond agglomerate can create a scratch field that looks like “machine vibration.” Keep slurry nozzles capped, purge lines after shutdown, and dedicate rinse containers per step. If you share equipment across materials, schedule soft metals after hard materials only if you can do a thorough bowl/cloth cleaning in between.
Step 3: Set the LMP-4 Parameters to Prevent Scratches (Pressure + Speed + Stage Logic)
Once your process is staged correctly, you’ll get the biggest consistency gains by standardizing three things: stage time, rotational speed, and contact pressure. The LMP-4’s LCD touch interface and stepless pressure adjustment make it easier to lock in repeatable recipes across shifts—especially when you use single-point loading to keep force stable and reduce edge damage.
Recommended starting recipes (reference values you can fine-tune)
Use these as baseline parameters. If scratches persist, step back one stage rather than increasing pressure. In many labs, reducing pressure by 20–30% and extending time by 15–25% lowers scratch density without sacrificing flatness.
| Stage |
Abrasive / consumable |
Platen speed (rpm) |
Load guidance |
Typical time |
| Pre-grind |
SiC 240–600 grit |
180–300 |
Moderate, stable; avoid “digging” edges |
1–3 min |
| Fine grind |
SiC 800–1200 grit |
150–250 |
Lower than pre-grind; focus on removing prior lines |
1–2 min |
| Coarse polish |
Diamond 6–3 μm + medium cloth |
120–200 |
Light–moderate; stepless pressure helps avoid spikes |
2–4 min |
| Final polish |
Diamond 1 μm or alumina/silica 0.05 μm + soft cloth |
80–150 |
Light; avoid heating and smearing |
1–3 min |
| Clean & dry |
Water → alcohol → air dry |
— |
No wiping on critical surfaces |
30–90 s |
Parameter flowchart you can follow on the LCD touch screen
Start → Select stage (Pre-grind / Coarse polish / Final polish)
Set platen speed (rpm) → Set time (min:s)
Set stepless pressure to a stable baseline → Enable single-point loading if you need uniform contact
Run stage → Rinse + alcohol clean → Dry with oil-free air
Inspect at 50×–200× → If scratches remain, repeat current stage (not higher pressure) or step back one stage
Real-World Case: How One “Invisible” Setting Created Rework
A materials lab preparing carburized steel samples reported persistent fine scratches after final polish. Operators kept increasing polishing time, but the scratch density barely changed. The root cause wasn’t time—it was pressure spikes during stage transitions and inconsistent loading between specimens.
What changed (and what improved)
- Standardized load using single-point loading to stabilize contact force across the holder.
- Reduced platen speed from 180 rpm to 120 rpm in final polish to lower heat and micro-tearing.
- Lowered pressure by ~25% and extended the final stage by 30–45 seconds instead of pushing harder.
- Added a strict inter-stage cleaning rule: water rinse → alcohol rinse → air dry (no cloth wiping).
Result: rework frequency dropped from about 1 in 3 samples to less than 1 in 10 over the next two weeks, and operator-to-operator variability became noticeably smaller.
On-the-Spot Troubleshooting: A 6-Question Mini Test
If you’re not sure what to change first, use this quick self-check. Answering “Yes” suggests your highest-probability fix.
- Do the scratches keep the same direction after the next stage? (If yes: current stage is creating them—review speed/pressure/cloth.)
- Did you confirm the previous stage scratches were fully removed at 50×–200×? (If no: step back one stage.)
- Is your polishing cloth older than 30–50 samples or glazed? (If yes: recondition or replace.)
- Do you see dried slurry at the nozzle tip or on the bowl? (If yes: clean, flush, and remake slurry feed habits.)
- Are edges rounding or showing edge scratches? (If yes: reduce load, check mounting flatness, use single-point loading.)
- Are you increasing pressure to “go faster”? (If yes: lower pressure and add controlled time—especially in final polish.)
Daily Maintenance That Prevents Scratch Comebacks
Clean the “scratch generators”
After each run, wipe splash zones, rinse the bowl, and check for embedded abrasive grains. If you use diamond suspension, flush the nozzle with clean liquid and cap it to avoid crystallized particles.
Keep pressure and speed consistent
Use saved stage recipes (where available) and document: material, mounting method, abrasive sequence, rpm, load setting, and time. Consistency is what makes your metallography scalable.
Check alignment & wear
If you notice repeat scratches in the same area across multiple samples, inspect platen/holder seating and consumable wear. A slightly uneven cloth or mis-seated holder can mimic “mystery scratches.”
Want Scratch-Free Consistency in Less Time?
Get the recommended LMP-4 automatic grinding & polishing parameter sheet (by material), plus a practical checklist for stage transitions and cleaning habits—so your team can run the same recipe and get the same surface quality.
Explore the LMP-4 Automatic Metallographic Grinding & Polishing Machine & Download the Process Form
Tip: If you tell us your material (e.g., carbon steel, stainless, aluminum, copper, titanium) and target finish, we’ll suggest a starting recipe you can apply immediately.
Leave a note for troubleshooting
When you comment, include your material, abrasive sequence (grit/μm), cloth type, and your current speed/pressure/time. If you can describe whether scratches are directional or random, you’ll usually pinpoint the fix in one round of adjustments.


-1.jpg?x-oss-process=image/resize,h_1200,m_lfit/format,webp)


Hardness-Tester7MHVS-1000A-1.jpg?x-oss-process=image/resize,h_1200,m_lfit/format,webp)


